Introduction
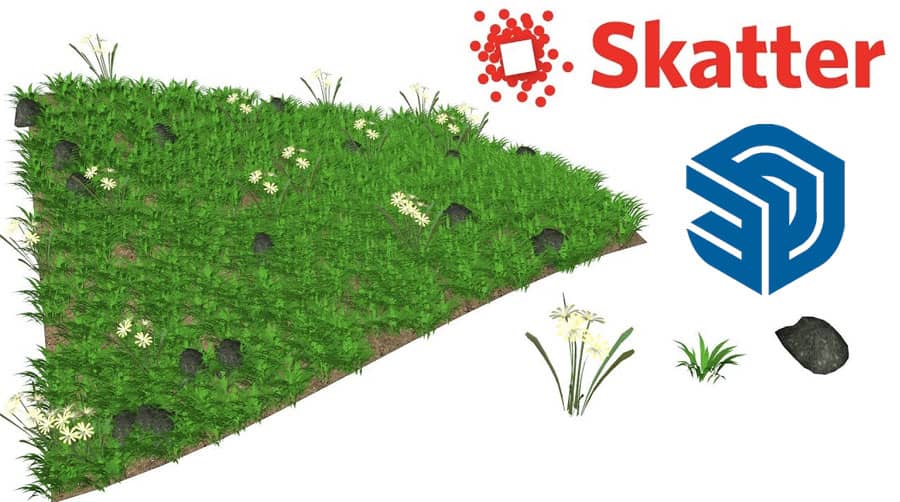
Sketchup’s Skatter plugin is a powerful tool for creating realistic vegetation patterns in your 3D models. It allows you to scatter vegetation elements like grass, trees, and bushes easily and efficiently. With its intuitive interface and a wide range of features, Skatter plugin is a favorite among 3D artists and designers.
In this article, we will provide you with some helpful tips for using Sketchup’s Skatter plugin. From setting up the plugin to creating complex vegetation patterns, we will cover everything you need to know to make the most of this powerful tool.
Setting Up Sketchup’s Skatter Plugin
Installing Sketchup’s Skatter Plugin
Before starting to use the Sketchup’s Skatter Plugin, you need to download and install it first. You can download it from the Sketchup extension warehouse. Once you download the plugin, open Sketchup and navigate to the “Window” menu, then click on “Extension Manager”. Here you can see a list of installed extensions. Click on “Install Extension” and select the downloaded file to install Sketchup’s Skatter Plugin.
Setting up the Parameters
Once the Sketchup’s Skatter Plugin is installed, you need to set up the parameters before using it. You can access the Skatter interface by clicking on the Skatter toolbar icon, or you can go to “Extensions” menu and select “Skatter”. The interface will open with a few default settings. You can change the settings like the scattering area, density, scale, and rotation of the elements according to your requirement.
Customizing the User Interface
The Skatter interface provides various customization options to improve your workflow. You can customize the toolbar by dragging and dropping the desired icons from the toolbar to the main interface. You can also rearrange the elements by dragging and dropping them to the desired position.
Adding Vegetation Elements
Choosing the Right Vegetation Elements
Sketchup’s Skatter Plugin provides a wide range of vegetation elements like grass, trees, bushes, and more. You can choose the desired element by clicking on the “Elements” tab and selecting the desired element. You can also import your own vegetation elements in the plugin by clicking on the “Import” button.
Adjusting the Density and Scale
After selecting the vegetation element, you can adjust the density and scale of the elements. The density parameter controls how many elements are scattered in a given area, while the scale parameter controls the size of the elements.
Placing the Vegetation Elements
After adjusting the parameters, you can start placing the vegetation elements in your 3D model. You can use the “Paint” tool to scatter the elements randomly or draw a shape and scatter the elements within the shape. You can also use the “Distribute” tool to scatter the elements in a linear or radial pattern.
Creating Complex Vegetation Patterns
Using the “Paint” Tool
The “Paint” tool allows you to scatter vegetation elements randomly. To use the “Paint” tool, select the desired vegetation element, adjust the parameters and start painting on the surface of your 3D model.
Adjusting the Scattering Parameters
The Skatter plugin provides various scattering parameters like randomness, angle, and elevation, to create more complex and realistic vegetation patterns. You can adjust the parameters according to your requirement and preview the result in real-time.
Combining Different Vegetation Elements
You can combine different vegetation elements like grass, trees, and bushes to create more complex vegetation patterns. Skatter plugin allows you to stack the elements on top of each other and adjust their parameters accordingly.
Optimizing Performance
Using the Proxy Mode
The Skatter plugin provides a proxy mode that allows you to replace the high-poly vegetation elements with low-poly proxy elements to improve the performance. You can switch between the high-poly and low-poly modes by clicking on the “Proxy” button.
Reducing the Polygon Count
You can reduce the polygon count of the vegetation elements to improve the performance. Skatter plugin provides an option to reduce the polygon count while importing the vegetation elements.
Using Caching
Skatter plugin provides caching options to store the scattered elements in memory, which helps in faster rendering. You can enable the caching option by clicking on the “Cache” button.
Frequently Asked Questions
Here are some common questions that users may have about using Sketchup’s Skatter Plugin:
Can I use my own vegetation elements with Skatter?
Yes, Skatter allows you to import your own vegetation elements in the plugin by clicking on the “Import” button.
How can I improve the performance of Skatter plugin?
You can use the proxy mode, reduce the polygon count, and use caching to improve the performance of Skatter plugin.
Can I adjust the density and scale of the vegetation elements in Skatter?
Yes, Skatter allows you to adjust the density and scale of the vegetation elements to create more complex and realistic vegetation patterns.
Can I combine different vegetation elements in Skatter?
Yes, Skatter allows you to combine different vegetation elements like grass, trees, and bushes to create more complex vegetation patterns.
Conclusion
Sketchup’s Skatter Plugin is a powerful tool that allows you to create realistic and complex vegetation patterns in your 3D models. By following some helpful tips like setting up the parameters, customizing the user interface, adding vegetation elements, creating complex vegetation patterns, and optimizing performance, you can create stunning and realistic 3D scenes with ease. Whether you’re an architect, landscape designer, or 3D artist, Skatter plugin is a must-have tool in your toolkit to bring your ideas to life. So go ahead and experiment with the Skatter plugin to create stunning and realistic 3D scenes.


