Introduction
SketchUp is a powerful 3D modeling software widely used in various industries, such as architecture, interior design, and product design. One of the key aspects of creating realistic and accurate 3D models is modeling and texturing from reference images.
Understanding Reference Images
Reference images play a vital role in the modeling and texturing process. They provide visual guidance and serve as a reference point for creating accurate 3D models. There are different types of reference images, including concept art, photographs, and blueprints. Each type has its advantages, and choosing the right reference image depends on the project requirements.
Modeling in SketchUp
Before diving into modeling from reference images, it’s important to grasp the basics of modeling in SketchUp. SketchUp offers a user-friendly interface and intuitive tools for creating 3D geometry. Users can start by drawing simple shapes and gradually build more complex objects. Techniques like extrusion, rotation, and scaling are fundamental to create accurate models.
Texturing in SketchUp
Texturing is an essential step in the 3D modeling process as it adds realism and detail to the models. SketchUp provides various texturing tools and options to apply textures effectively. Users can import custom textures or choose from the built-in material library. Applying textures to specific faces and adjusting the scale and orientation enhance the overall visual appeal.
Modeling and Texturing from Reference Images
When it comes to modeling from reference images, SketchUp offers a straightforward workflow. Here are the steps to follow:
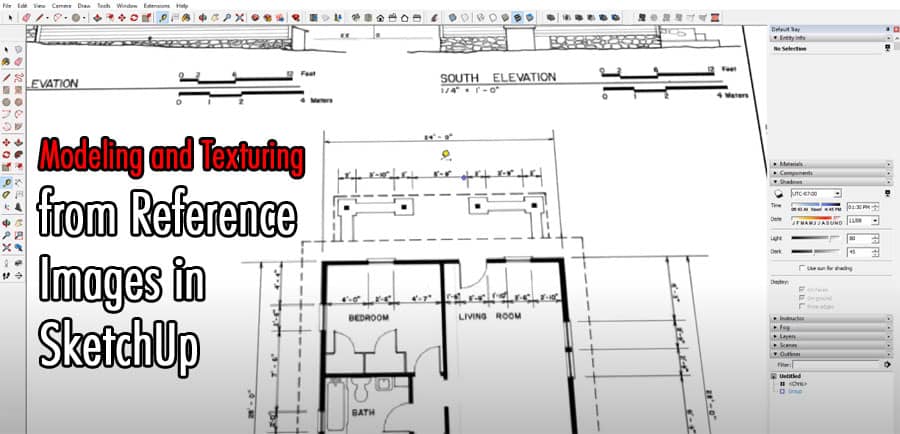
- Import the reference image: Start by importing the reference image into SketchUp. Ensure the image is properly scaled and positioned.
- Trace the main contours: Use the Line or Polygon tools to trace the main contours of the reference image. This step provides a foundation for building the 3D model.
- Extrude and adjust: Utilize the Push/Pull tool to extrude the flat contours into 3D geometry. Make necessary adjustments to match the reference image accurately.
- Refine the details: Add additional geometry and refine the details to achieve a more realistic representation. Utilize tools like the Follow Me tool for creating complex shapes.
When it comes to texturing from reference images, these tips can be helpful:
- Match the colors: Observe the colors and textures in the reference image and try to match them as closely as possible. Adjust the color settings and apply the appropriate textures to achieve a realistic look.
- Pay attention to scale: Ensure that the textures you apply maintain the correct scale in relation to the model. This helps in maintaining accuracy and realism.
- Use mapping techniques: SketchUp provides mapping tools that allow you to precisely position and scale textures on specific faces. Experiment with different mapping techniques to achieve the desired result.
- Blend textures seamlessly: In cases where multiple textures need to be applied, focus on blending them seamlessly. Use the Smudge tool or adjust the transparency settings to achieve a smooth transition.
By following these steps and tips, you can effectively model and texture from reference images in SketchUp, bringing your 3D models to life with accuracy and realism.
Conclusion
Modeling and texturing from reference images are crucial aspects of creating realistic and accurate 3D models in SketchUp. By utilizing the power and flexibility of SketchUp’s tools and techniques, you can bring your designs to life. Remember to pay attention to the details, match colors and textures, and make use of the available mapping options. With practice and creativity, you can achieve impressive results in your 3D modeling projects.
FAQs
Can I use any reference image?
Yes, you can use any reference image that suits your project requirements. However, it’s important to choose high-quality images with clear details for better accuracy in modeling and texturing.
How can I improve accuracy?
To improve accuracy, make sure to carefully analyze the reference image and take accurate measurements. Use guidelines and reference points to align your 3D model with the image.
What if I can’t find a reference image?
If you can’t find a suitable reference image, consider creating your own sketches or concept art as a reference. This allows you to have full control over the design and details.
What are the best texturing techniques?
The best texturing techniques in SketchUp depend on the desired outcome and the specific project. Experiment with different techniques such as projection mapping, UV mapping, and applying texture with transparency for optimal results.
Are there any advanced modeling and texturing features in SketchUp?
Yes, SketchUp offers a range of advanced features and plugins for modeling and texturing. Some popular plugins include V-Ray, Podium, and SketchUV, which provide additional tools and functionalities for creating professional-grade models and textures.


