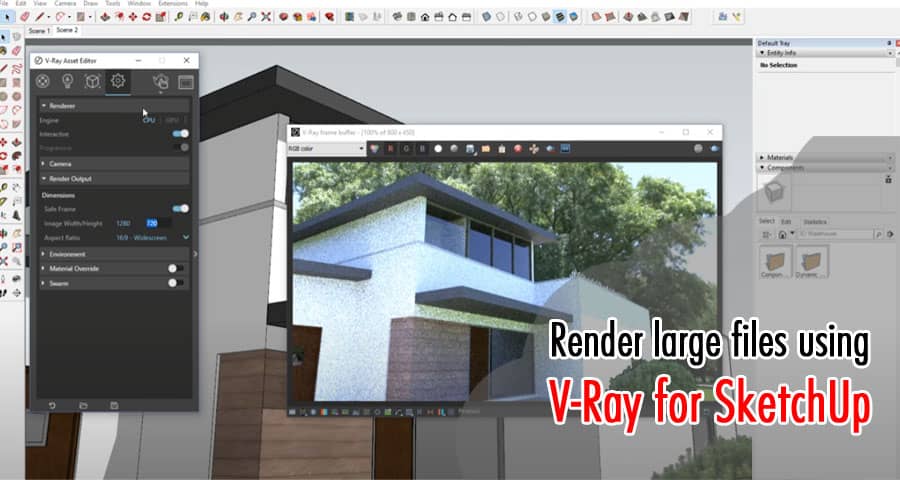
Are you struggling with rendering large files using V-Ray for SketchUp? Rendering large files can be a challenging task, especially when you don’t know the right techniques.
Introduction
V-Ray is a powerful rendering engine used by architects, designers, and visual artists to create high-quality 3D models and animations. However, rendering large files can be a time-consuming process and can put a strain on your system resources. In this article, we will share some tips and tricks on how to optimize your workflow and render large files efficiently using V-Ray for SketchUp.
Understanding V-Ray for SketchUp
Before we dive into the technical details, it’s essential to understand the basics of V-Ray for SketchUp. V-Ray is a plugin that integrates seamlessly with SketchUp to provide advanced rendering capabilities. It uses a physically based approach to simulate real-world lighting and materials, resulting in highly realistic and detailed renders.
V-Ray has a range of features that can be customized to achieve the desired results. These features include camera settings, lighting, materials, and rendering parameters. Understanding these features and how they work together is crucial to achieving efficient and high-quality rendering results.
Optimizing your SketchUp file
Before rendering your SketchUp file, it’s essential to optimize it to ensure efficient rendering. Here are some tips for optimizing your SketchUp file:
- Simplify your geometry: Complex geometry can slow down your rendering process. Use the Simplify Contours option in SketchUp to reduce the number of edges and faces in your model.
- Use proxy objects: Proxy objects are low-polygon models that replace high-polygon models, reducing the file size and rendering time.
- Use layers: Organize your model into layers to turn off unnecessary objects and speed up the rendering process.
- Use materials efficiently: Use materials efficiently to reduce the number of textures in your model. Assign the same material to objects that share similar properties.
Setting up your V-Ray rendering parameters
Once you have optimized your SketchUp file, it’s time to set up your V-Ray rendering parameters. These parameters can be customized to achieve the desired results. Here are some tips for setting up your V-Ray rendering parameters:
- Set the output resolution: Set the output resolution to match your desired final image size. Higher resolutions require more rendering time and system resources.
- Adjust the sampling settings: The sampling settings control the quality of your render. Higher values result in a better quality render but require more time and resources.
- Use the adaptive dome light: The adaptive dome light is a powerful tool that can save you time and resources by adjusting the lighting automatically.
- Enable progressive rendering: Progressive rendering allows you to see the rendering process in real-time, enabling you to make adjustments to your scene.
Using Distributed Rendering
Distributed rendering is a technique that allows you to distribute the rendering process across multiple computers or nodes, reducing the rendering time significantly. Here are some tips for using distributed rendering:
- Use a render farm: A render farm is a collection of computers that work together to render a large file. Use a render farm to distribute the rendering process across multiple computers, reducing the rendering time.
- Set up the render nodes: To use distributed rendering, you need to set up the render nodes. Install V-Ray on each computer and configure the rendering parameters.
- Enable distributed rendering: In V-Ray, enable distributed rendering and specify the IP addresses of the render nodes.
Understanding the V-Ray Frame Buffer
The V-Ray Frame Buffer is a powerful tool that allows you to preview and adjust your renders in real-time. Here are some tips for using the V-Ray Frame Buffer:
- Use the history panel: The history panel allows you to compare different render settings and see the effects of your adjustments.
- Use the color correction tools: The color correction tools allow you to adjust the brightness, contrast, and saturation of your render.
- Use the V-Ray denoiser: The V-Ray denoiser is a tool that removes noise from your render, resulting in a smoother and cleaner image.
Rendering your SketchUp file
Once you have set up your SketchUp file and V-Ray rendering parameters, it’s time to render your file. Here are some tips for rendering your SketchUp file:
- Use the batch render: The batch render allows you to render multiple views or animations in one go, saving you time and resources.
- Use the region render: The region render allows you to render only a specific area of your image, saving you time and resources.
- Monitor your system resources: Rendering large files can put a strain on your system resources. Monitor your system resources to ensure that your system is not overheating or crashing.
Tips for efficient rendering
Here are some additional tips for efficient rendering:
- Use a powerful computer: Rendering large files requires a powerful computer. Use a computer with a fast processor, ample RAM, and a powerful graphics card.
- Use a solid-state drive: A solid-state drive can significantly improve your rendering time by reducing the file access time.
- Use compression: Use compression to reduce the file size and speed up the file transfer process.
Troubleshooting common rendering issues
Rendering large files can sometimes lead to rendering issues. Here are some common rendering issues and how to troubleshoot them:
- Out of memory error: If you encounter an out of memory error, reduce the resolution of your render or use distributed rendering.
- Crashes: If V-Ray crashes, check your system resources and ensure that your SketchUp file is optimized.
- Artifacts: Artifacts can appear in your render due to incorrect lighting or materials. Adjust your lighting and materials to eliminate artifacts.
Conclusion
Rendering large files using V-Ray for SketchUp can be a time-consuming process. However, by optimizing your SketchUp file, setting up your V-Ray rendering parameters, using distributed rendering, and understanding the V-Ray Frame Buffer, you can efficiently render large files without compromising on quality.


