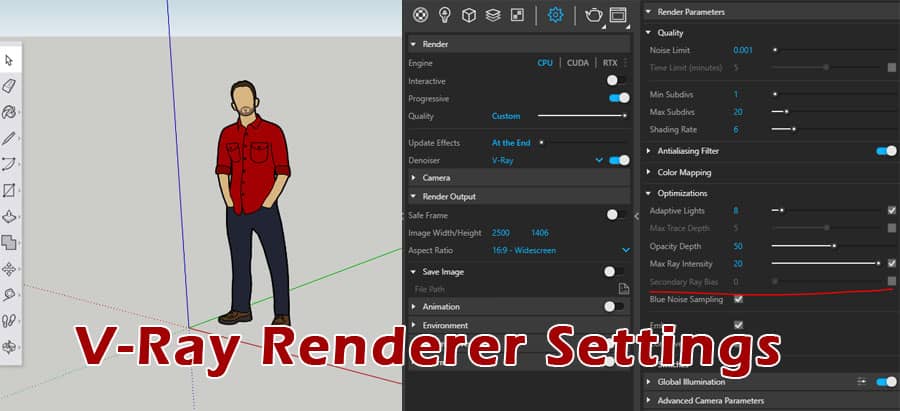
Historically, Vray has been considered one of the most widely used rendering software for SketchUp due to the ease of use, ease of learning, and user-friendly interface of the software. There are a number of materials, presets, and modes that can be chosen from within the rendering section of V-ray, giving the designers a wide range of choices depending on the device they are using and the device the designers are using.
Best Settings available in the V-Ray renderer
Below mentioned a few optimum settings available in the V-ray renderer for SketchUp users:-
GPU and CPU modes
Engines are able to switch between CPUs, GPUs, and rendering engines based on the workload. In the menu on the right of this page, you can specify the devices that the GPU engine will use to perform the ray tracing calculations for you.
Upon failing to find a CUDA-enabled GPU on the system, the V-Ray GPU silently falls back to CPU code if a CUDA device is not available. A V-Ray GPU will stop the process if a GPU device cannot be found on the system that is supported by V-Ray GPU.
Noise limitation
An indication of when a pixel should stop being refined is known as a threshold. A higher value will make the image noisier, while a lower value will try to reduce the amount of noise in the image. In order to refine the image, it specifies how many samples per pixel can be used.
Using adaptive sampling on the image, V-Ray attempts to put more samples in areas with higher noise levels in order to reduce the overall noise in the image.
Clamping with colors
In order to create a natural and realistic appearance in a scene, it is vital that the light in the scene is balanced. In terms of production, this is essentially a step where you look at the shadows in the scene to ensure they are not too dark or where you verify that the lights are not too bright so as to wash out the details. As an option, you can use the color clamping tool to assist you in the process of colorizing your image.
Vray Frame Buffer will identify those areas of the image that are overexposed when the Forced Color Clamping icon is disabled. This will allow you to fix the overexposed areas of the image. In order to correct this issue, it is possible to adjust the exposure with the Vray Frame Buffer.
Lighting effect
A global illumination occurs when light is bouncing off of objects and receding into a scene/environment from the objects or from the environment itself as a result of its movement. This effect is computed through computer graphics to create this effect known as global illumination.
Various engines are implemented for computing indirect illumination by V-Ray, allowing for different tradeoffs between speed and quality.
Anti-aliasing effect
Using V-Ray image samplers, for instance, you can calculate each pixel’s color from the colors that surround it, as well as those within a pixel itself. Anti-aliasing, which is the process in which jagged edges are reduced in renderings, is one of the many functions of image sampling.
To produce a cleaner render, this technique blends or blurs pixel information based on sampling differences, particularly in diagonal or curved areas or in areas where pixel values and colors differ.
Ambient Occlusion effect
A single texture is mapped across all objects in the scene when the Ambient Occlusion Render Element is applied. Using the resulting element, ambient occlusion can be controlled separately in compositing.


