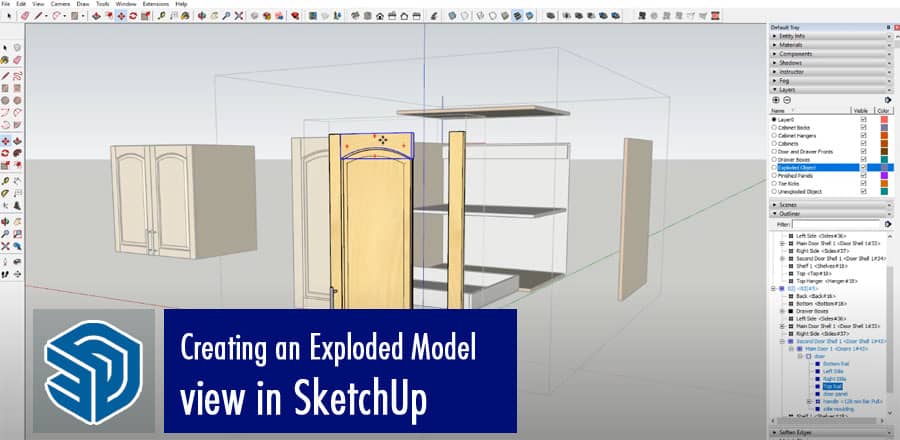
If you’re a designer, architect, or engineer, you’ve probably used SketchUp at some point in your career. SketchUp is a powerful tool that allows you to create 3D models quickly and easily. One of the most useful features of SketchUp is the ability to create an exploded view of your model.
What is an Exploded Model View?
An exploded view is a 3D representation of an object that shows its individual components separated from each other. It is commonly used to illustrate the assembly or disassembly of a product. An exploded view can be very helpful in understanding how a complex object is put together, and it can also be used as a reference when assembling the object.
Benefits of Exploded Model Views
There are several benefits to creating an exploded view of your model. First, it can help you identify any errors or issues with your design. Second, it can be used as a reference when assembling your object. Finally, an exploded view can be used to create instructional materials or technical documentation.
Steps to Create an Exploded Model View in SketchUp
To create an exploded view in SketchUp, follow these steps:
Step 1: Create Your Model
The first step in creating an exploded view is to create your model in SketchUp. Make sure to organize your model into groups and components, as this will make it easier to explode your model later on.
Step 2: Create a New Scene
Once your model is complete, create a new scene in SketchUp by clicking on the “plus” icon next to the “Scenes” tab. This new scene will be used to create your exploded view.
Step 3: Duplicate Your Model
Next, duplicate your model by selecting all of the components and groups in your model and using the “Edit” menu to choose “Copy” and “Paste in Place”. This will create an exact duplicate of your model on the same plane.
Step 4: Explode Your Model
With the duplicate model selected, use the “Move” tool to move each component and group away from the center of the model. Be sure to move each component along its own axis, so that the exploded view is accurate.
Step 5: Save Your Exploded View
Once you have exploded your model, save your new scene by clicking on the “plus” icon next to the “Scenes” tab. You can now switch between your original model and your exploded view by selecting the appropriate scene.
Tips for Creating an Effective Exploded View
Here are some tips to help you create an effective exploded view in SketchUp:
- Use a consistent distance between components to ensure that your exploded view is accurate.
- Use colors or textures to differentiate between components in your exploded view.
- Use annotations or callouts to label each component in your exploded view.
- Consider using animation or a GIF to show the assembly or disassembly of your object.
Conclusion
Creating an exploded view in SketchUp is a great way to improve your design workflow and create more effective instructional materials. By following the steps outlined in this article, you can easily create an exploded view of your model in SketchUp. With a little practice, you’ll be creating professional-looking exploded views in no time!
FAQs
Can I create an exploded view in SketchUp for free?
Yes, you can create an exploded view in SketchUp for free using the SketchUp Free web application.
How can I make sure that my exploded view is accurate?
To ensure accuracy, use a consistent distance between components and move each component along its own axis.
Can I create an exploded view in SketchUp for an animation?
Yes, you can create an exploded view animation in SketchUp using the Scene Animation feature.
Can I add labels or callouts to my exploded view in SketchUp?
Yes, you can add labels or callouts to your exploded view using the Text tool in SketchUp.
How can I use an exploded view in SketchUp for instructional purposes?
An exploded view can be used to create instructional materials or technical documentation, such as assembly instructions or user manuals. You can also use an exploded view to show the inner workings of a product or to highlight specific features.


