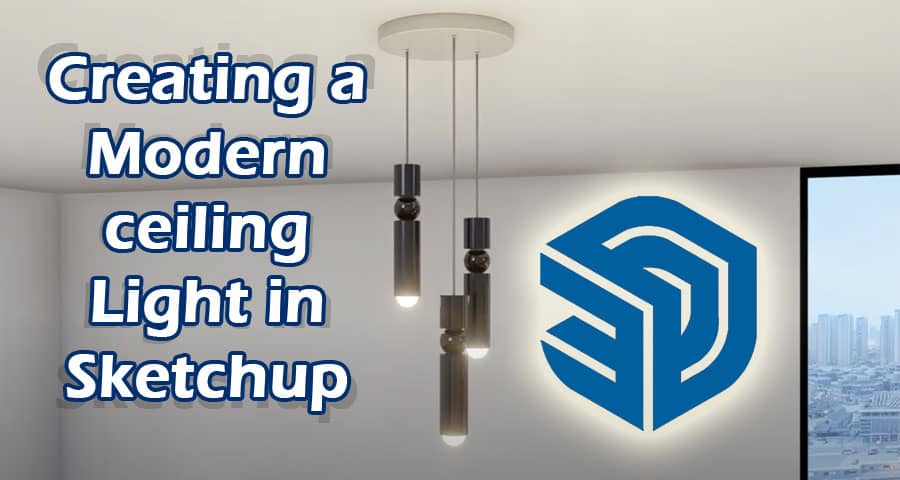
In today’s fast-paced world, where innovation and creativity reign supreme, the demand for unique and contemporary design elements has never been higher. One such element that has captured the imagination of designers and homeowners alike is the modern ceiling light. With its sleek lines, minimalist aesthetic, and ability to effortlessly elevate any space, the modern ceiling light has become a must-have fixture in interior design.
Understanding the Essence of Modern Ceiling Lights
Before delving into the intricacies of creating a modern ceiling light in SketchUp, it’s essential to grasp the essence of this design style. Modern ceiling lights are characterized by their clean and geometric shapes, often featuring materials such as metal, glass, or acrylic. These fixtures prioritize functionality without sacrificing style, making them perfect for contemporary interiors.
SketchUp: A Powerful Tool for Design
SketchUp, a versatile 3D modeling software, empowers designers to bring their ideas to life with precision and ease. Whether you’re a seasoned professional or an amateur enthusiast, SketchUp offers a user-friendly interface and robust features that facilitate the design process.
Step-by-Step Guide to Creating a Modern Ceiling Light
- Inspiration and Conceptualization: Every great design begins with inspiration. Start by gathering ideas from various sources such as architectural magazines, online galleries, or even nature itself. Once you have a clear vision in mind, sketch out your concept, taking into account factors such as size, shape, and materials.
- Setting Up SketchUp: Begin by launching SketchUp and creating a new project. Set the units to match your preferences and adjust the view to your liking. Familiarize yourself with the navigation tools, including pan, orbit, and zoom, to navigate the workspace efficiently.
- Building the Base Structure: Using SketchUp’s drawing tools, such as the line and rectangle tools, begin constructing the base structure of your modern ceiling light. Pay close attention to dimensions and proportions, ensuring that your design aligns with your initial concept.
- Adding Details and Features: With the basic structure in place, it’s time to add details and features that will enhance the visual appeal of your ceiling light. Experiment with different materials, textures, and finishes to achieve the desired look. Consider incorporating elements such as LED strips, frosted glass panels, or intricate metalwork to elevate the design further.
- Fine-Tuning and Refinement: Once you’re satisfied with the overall design, take a step back and assess the finer details. Use SketchUp’s editing tools to make any necessary adjustments, refining the shape, scale, and positioning of components as needed. Don’t hesitate to iterate on your design until it meets your exact specifications.
- Adding Realism with Lighting and Rendering: To bring your modern ceiling light to life, leverage SketchUp’s lighting and rendering capabilities. Experiment with different lighting scenarios to showcase how your fixture would look in various settings. Utilize advanced rendering plugins or software to create photorealistic images that capture the essence of your design.
For more information, please watch the following video
Conclusion
In conclusion, creating a modern ceiling light in SketchUp is a rewarding endeavor that allows designers to unleash their creativity and imagination. By following the step-by-step guide outlined above, you can craft a stunning fixture that serves as the focal point of any space. Whether you’re designing for residential, commercial, or hospitality projects, SketchUp provides the tools and flexibility you need to bring your vision to fruition.


