Before, in part 1 of this article, we talked about how you can make your SketchUp more efficient. This is the second and final part of that narrative. Continuing from the previous.
Purge Components / Materials that are not used anymore
All Components and Materials that we use will be automatically saved in our SketchUp file. However, some components and material that have been deleted may still be in Sketchup. And this will make Sketchup work harder.
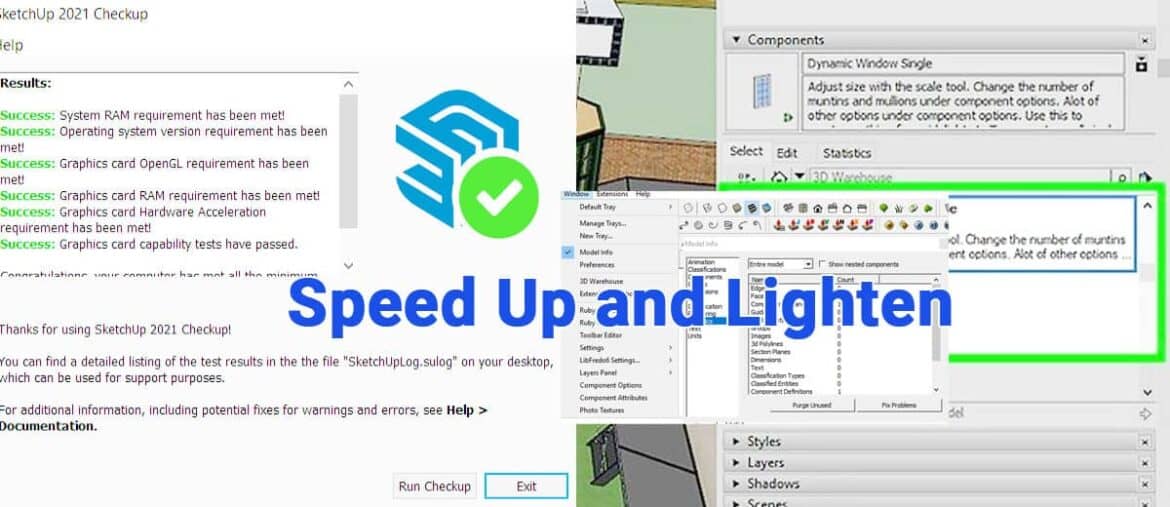
Therefore we need to manually delete all components and materials that are not used in our Sketchup. There are 2 ways to Purge components and materials in SketchUp.
The first way to SketchUp purge components and materials in Sketchup:
- Open Sketchup
- Select the Model Info menu
- Choose Statistics
- Select the entire model for Purge models that are not used
- Select the entire component for the component that is not used
- Choose “Purge Unused“
If you use this method I suggest first cleaning the component or purge the component, then after that, we can clean the material or purge the material.
The second or alternative purge component
(and material in the Vray Asset Editor SketchUp):
- Open Sketchup
- Open the Vray Asset Editor
- Select the lower right corner menu
a. if we select the Purge unused material will appear
There is one more tip that I often use, and the results are quite good. After you get the 3D model (from anywhere), the first thing you do is “purge unused material“. After that, just copy and paste the model into your SketchUp file.
Reduce the use of plugins that are not needed, or use those that are often used.
Adding several plugins to Sketchup is really necessary. That will facilitate our work. However, too much will aggravate the work of SketchUp.
Use plugins only as needed, here are some of the plugins that I use the most:
- Round Corner, is a plugin to speed up cornering in our modeling.
- UVW map, a plugin to fix our messy mapping material
- Join Push-Pull, which makes it easy to pull and push for abnormal objects
- Artisan, I only use this plugin to reduce the number of poly
Note the model information that I highlighted in red, in the Polygons and File Size sections. This is very important if you want to add components so they are not made by you. For example, you want to enter a sofa, chair, accessories, etc. Look at the file size first, if you search on 3dwarehouse.com then look at the size and number of poly files.
For example, if you enter a sofa with a size of 40MB, then a chair with a size of 20MB, a plant with a size of 30MB. So from that file alone the size of your SketchUp file is already 90MB! Not including your own modeling. Can you imagine?
Pay attention to the size of your material/texture mapping file
Sometimes, we want rendering results that are WOW !!! but we forgot to pay attention to the size of our material mapping file. I was so excited, we put HD files for all our textures. For example, the size of 3MB per texture mapping that we use. Imagine if there were 30 different textures in our modeling? 90MB is only for mapping !!! It’s only for a diffuse normal map, not to mention bumps, reflection, etc.
My suggestion is to use some HD texture mapping for important objects. And use a texture that is normal/mediocre for additional objects or objects that are not too displayed, for example, textures for accessories.


