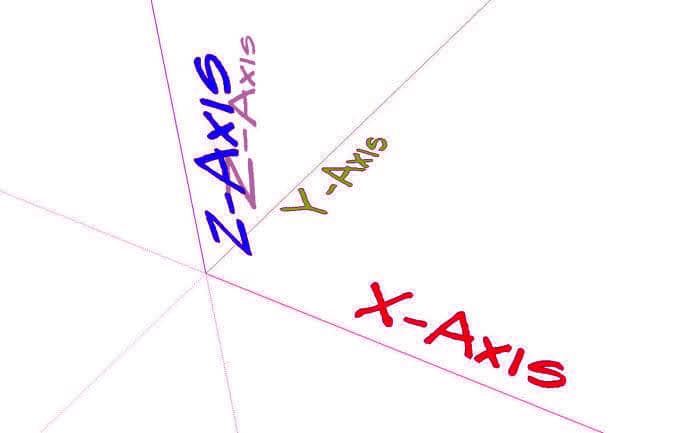
In this article, we are going to talk about how to adjust the Axes setting within Sketchup. This is actually very important because your axes ,they basically sets inferencing within Sketchup model. A lot of people doesn’t know that we can actually change these to make your life a lot easier in Sketchup. So let’s get started.

1) Aligning your axes set your inferencing
Here we will talk about how to replace your axes. There are couple of different ways to do it. Draw a plate in Sketchup .Go to Tool and click on Axes. Click on the plate and set a new location for axes. And basically , in this case, things change a whole lot because the directions we are inferencing is still the same. However, when things gets important when you start modeling things that goes off axes . For example , when we don’t model things on the Axes point , what we can do is by going to large tool set and click in axes. This is another way to locate your axes.
2) Quickly Change Your Axes by Right Click
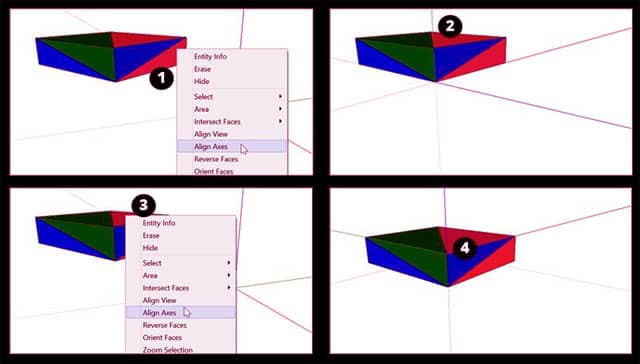
Another way you can quickly align your axes to an object, is you can just right click on the faces and click on the button align axes. That will going to reline the Axes based on the shape that we have selected. One of the places which this will be useful is , if you are modeling, based on a location and your modeling stuff does not necessarily align perfectly straight up and down, right to left in axes. You can relocate your axes.

3) Set Component Axes when you Create Components
Last tip is we can also adjust the component axes while creating components. For example, create a rectangular box . To make this box component, just right click on the whole box and click the button make component. Under this dialogue box, there is actually a button called set component axes. This means , when you first initial create the components and set what those axes are going to align with. So if we click on it create a new set of axes. We can do this many time or in different orientation as we want to until we get what we want within this component.


