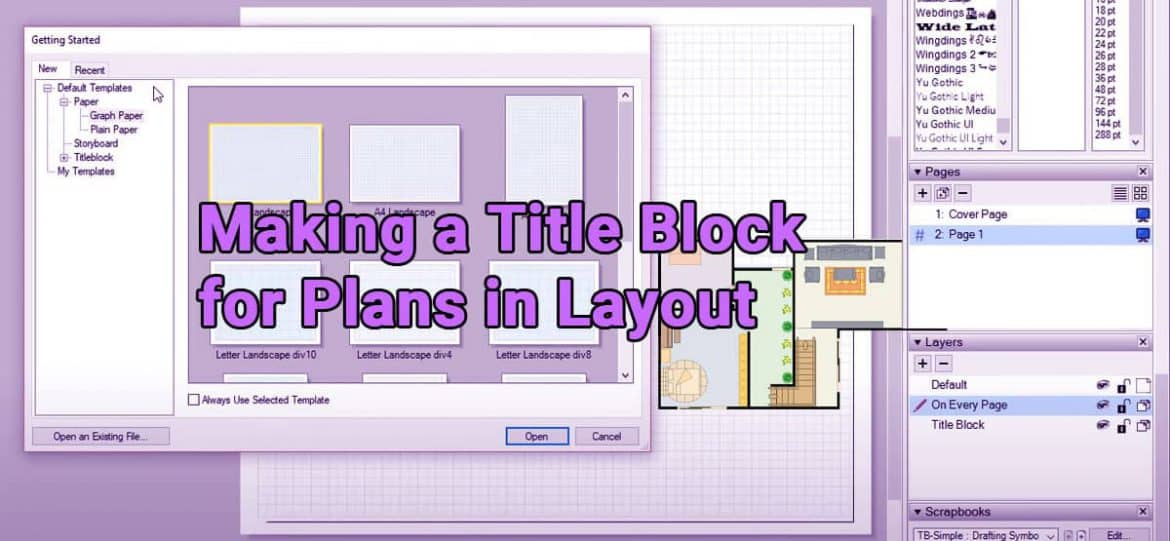
In this article, you will learn the basics for creating a title block in layout. You will learn how to save your title block so that it shows on every page. You will also learn how to save it as a template for use in your Sketchup to layout project in the future.
The layout is very simple- you just add your different text boxes, then you draw dividers between them-the trick is using AutoText and layers to get your title block to show up on every page.
Let’s start by just drawing a rough title block – line on the right and box on the lower right-hand Conner. Then we will start adding some text.

Before we do that, I need to introduce you to the concept of AutoText.
AutoText is a text that layout will automatically fill in for you based on information that is set in your model. It’s almost like the text version of a component from Sketchup.
You can see what AutoText information is available by going up to “File” “Document Setup”, “Auto Text”. These are the items that are already in AutoText, and you can adjust their values within these areas. For example, let’s say, we will add our address in the title bar. To start, add a text box with the value “Address” in it to your title bar. Now, change your address in your AutoText section. Notice that the text in your actual document changes to match what you have entered in your Document setup. You can adjust the style of your text within the “Text Style “ section.
Now let’s add a logo in the upper right-hand corner. Just go to “File”, “Insert” and find your logo image. In this case, we are going to use AutoText for page numbers. You can add a page description section, date, and other information here as well. Notice that you can create a border around a text box by selecting “Stroke” in the “Shape Style” section.
You can draw lines to separate your various section and adjust the way they look using the “Stroke” option in your Shape Style section in your tray.
Now, let’s talk about getting this to show up on all your pages (or atleast most of your pages).
First, you are going to want to select all of this. You can group it or not – I did probably group it. Then you need to add a layer for the title box and put all the geometry on that layer. You can check it by toddling it on and off. You should be able to drag it down near the bottom. Then, assuming you want this to show up on every page, you need to click the option “Share Layers Across Pages”. This will result in this layer showing in the same location across pages.
You may want to click the lock button to keep from accidentally editing your title box. However, sometimes, you have pages you don’t want to show up on. Simply turn the layer off and those pages.


