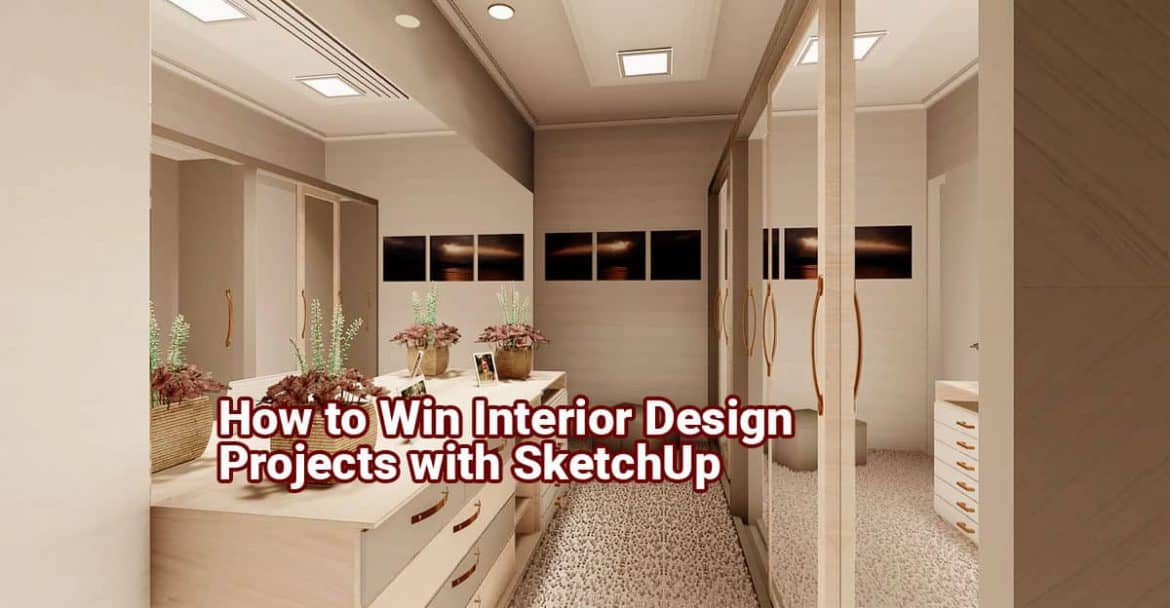
So, you are looking to win an interior decoration tender? Perhaps your boss wants design ideas from various team members? Bottom line, do you need to make an outstanding pitch with such an interior design that will turn the head of your client or superior, but be undecided about the best tool to use for it? Don’t worry, SketchUp is your best bet in this case.
Creativity and deadline collide with each other when you need to make a project pitch. Your focus needs to be on getting your ideas out of your head and transferring them to the screen as soon as possible – which will go on to winning the project for you or your team. SketchUp, it turns out, is very handy in these kinds of situations.
To be frank, you need the Sketchup Pro subscription to properly utilize the software in this scenario. With exciting and powerful plugins that can up your workflow through the roof and LayOut’s capability in showing off the technicalities of your work, you have the best weapon in hand with SketchUp Pro when it comes to making killer design presentations.
Let’s discuss the steps of creating a great interior design with SketchUp.
Start with 2D
In most of the projects, there will be some photos or base architectural plans for the space in which you are supposed to work your magic. At least there will be a description. Get started with these by importing them into SketchUp.
If you already have a digital floor plan, great! Just import it in SketchUp. If you have just a hand-drawn plan, put it up in SketchUp and trace the lines – this will create your basic floor plan. If you just have location photos, no worries – the Match Photo feature will help you out in making the base floor plan.
Either way, you’ll need a little time scaling and drawing to match the SketchUp floor plan with the real-life space.
Convert the 2D into 3D
Once you got the basic floor plan fixed, you can happily proceed to quickly turn those 2D lines into 3D walls. There are many great videos on how to draw exterior walls easily and quickly – for example, check out this video from the official SketchUp channel.
Put some life in your rooms
The SketchUp 3D Warehouse is bursting with countless furniture objects. Many of them are digital representations of actual products available in the market. Pick some light and easy ones, to begin with, and decorate your rooms as you please. Also, use Materials and Colors to bring the walls and objects to life. Add some greenery and sculptures, place appliances and fixtures, hang picture frames on the wall, and lights from the ceiling – warning, this can get addictive. Keep an eye on the clock!
You can create multiple versions of your design too. SketchUp Lets you work through multiple configurations, and you can choose which one you like the most. Rather, which one they would probably like the most.
Build the show
The most important part of a design pitch is, of course, the show. SketchUp has multiple tools to help with that – scenes, sections, layers, styles… and each is important in showing off the aspects of your design. Don’t forget to create a walkthrough as well, which will let your client feel out the actual environment from the human point of view.
Teamwork in the clouds is key
Trimble Connect, which is included in the Sketchup Pro subscription, is the place to keep your model in if you have multiple team members working on the same project or have to display the project anywhere. Connect has unlimited cloud storage and you can access it from anywhere using Trimble’s design or viewer apps. If you are showing the model to another designer, you can use this to invite them to get into the nits and bits of your model.
Trimble Connect also keeps track of every version of the model you have uploaded there. Take advantage of this feature to upload and showcase multiple versions of your design.


