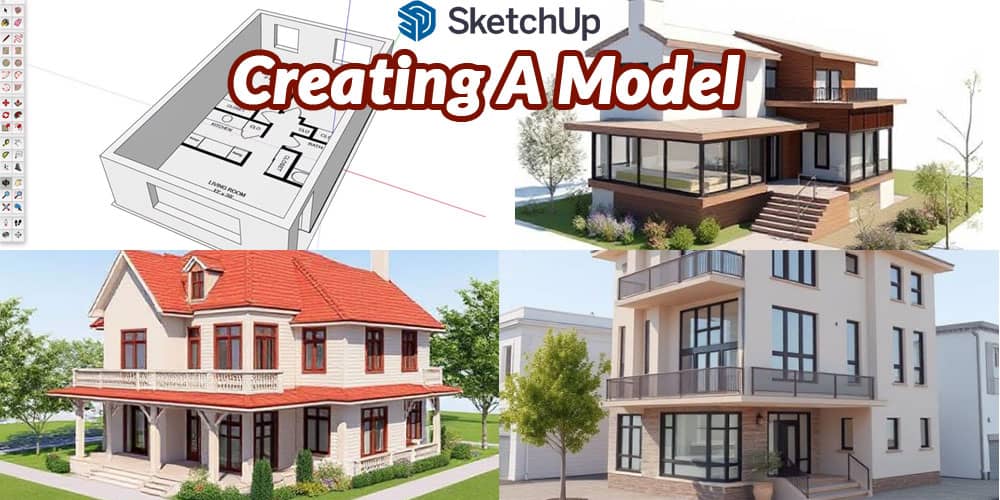
Creating a high-quality 3D model using SketchUp doesn’t have to be complex. With the right step-by-step workflow, anyone – from beginners to professionals – can craft detailed, visually impressive models for architecture, interior design, product visualization, or urban planning.
1. Setting Up Your Project Environment
Before diving into modeling, it’s essential to configure your workspace correctly to ensure accuracy and save time during the design process.
Choose the Right Template
Start by selecting a template that matches your modeling scale and unit preferences. SketchUp offers options like Architectural, Interior, and Urban Planning templates in both metric and imperial units.
Set Up Drawing Axes and Views
- Use the default red, green, and blue axes to orient your model.
- Configure your views – Top, Front, Right – to align with standard design perspectives.
- Adjust the field of view for better perspective using the Zoom tool.
2. Mastering SketchUp Navigation and Interface
A smooth modeling experience starts with knowing how to control your environment.
Basic Navigation Tools
- Orbit (O): Rotate your viewpoint around the model.
- Pan (H): Move the camera horizontally or vertically.
- Zoom (Z): Move closer or farther from the model.
Utilize Tags and Scenes
- Tags (formerly Layers) help organize different elements of your model.
- Scenes allow you to save specific viewpoints and states of your model for presentations or animation exports.
3. Building the Base Geometry
Start with Simple Shapes
Use the Rectangle, Circle, and Line tools to draw the basic outline of your model. Always ensure you’re snapping to the right axis to maintain dimensional accuracy.
Use the Push/Pull Tool
- Select a surface and use the Push/Pull tool to extrude it into 3D.
- Double-click other surfaces to repeat the same extrusion.
Inferencing System
SketchUp’s inference engine allows you to align, connect, and reference existing geometry precisely. Look for colored guidelines and tooltips to maintain alignment.
4. Grouping and Component Creation
Group Similar Geometry
Select multiple elements and group them to keep them from merging with other geometry. This helps in managing large models effectively.
Create Reusable Components
Convert repeated elements (like windows or furniture) into Components. This not only reduces file size but also allows you to edit all instances simultaneously.
5. Adding Architectural Details
Use the Follow Me Tool for Molding and Trim
Draw a profile and a path, then use the Follow Me tool to create detailed elements like baseboards, rails, or gutters.
Create Stairs, Doors, and Windows
- Use the Push/Pull and Offset tools to cut out shapes and add thickness.
- Ensure architectural accuracy by referencing standard dimensions.
6. Applying Materials and Textures
Use the Paint Bucket Tool
Open the Materials panel and apply textures like wood, concrete, glass, or metal to surfaces. Customize materials to match real-world finishes.
Import Custom Textures
Drag and drop image files to create custom textures. Ensure correct scale by adjusting texture dimensions in the material editor.
7. Working with Shadows and Lighting
Enable Shadows for Realism
Go to View > Shadows and toggle on to see how natural light interacts with your model. Set your geo-location to simulate accurate sunlight based on time and date.
Add Artificial Lights with Plugins
Use plugins like SU Podium or V-Ray to insert light sources like spotlights, ambient lights, and HDRI environments for realistic renders.
8. Integrating 3D Warehouse Models
Access Pre-made Models
SketchUp’s 3D Warehouse contains thousands of free models that can be imported directly into your project. Always review geometry and simplify if necessary to avoid bloating your file.
9. Exporting and Presenting Your Model
Create Scenes for Presentation
Set up multiple scenes to showcase various angles and design stages. Use annotations and dimension tools to communicate effectively.
Export to 2D or 3D Formats
- 2D Export: JPG, PNG, PDF for presentations.
- 3D Export: DAE, STL, or OBJ for rendering or 3D printing.
Use Layout for Professional Documents
SketchUp Pro users can export models into Layout to create scaled, annotated drawing sets complete with title blocks.
10. Useful Plugins to Enhance Your Workflow
Extend SketchUp’s core functionality using powerful plugins. Some of the most popular include:
- Profile Builder: Automate repetitive modeling tasks like railings or framing.
- Solid Inspector: Check and repair solids for 3D printing.
- Curviloft: Create complex organic forms.
- CleanUp³: Optimize your model by removing unnecessary geometry.
11. Tips for Maintaining Model Performance
- Purge unused components and materials regularly.
- Use proxies or low-poly models for detailed elements like vegetation.
- Keep shadows, styles, and fog effects disabled during modeling and only enable them for final presentations.
12. Best Practices for SketchUp Modeling
- Always model on Layer 0, and assign groups/components to other tags.
- Frequently save versions and use incremental file naming.
- Keep a clean outliner structure to manage model complexity efficiently.
By following this streamlined workflow, you’ll be able to create professional-grade 3D models in SketchUp with accuracy, speed, and clarity. Whether you’re modeling a house, a commercial space, or a product prototype, these steps ensure your project remains efficient, optimized, and presentation-ready.


