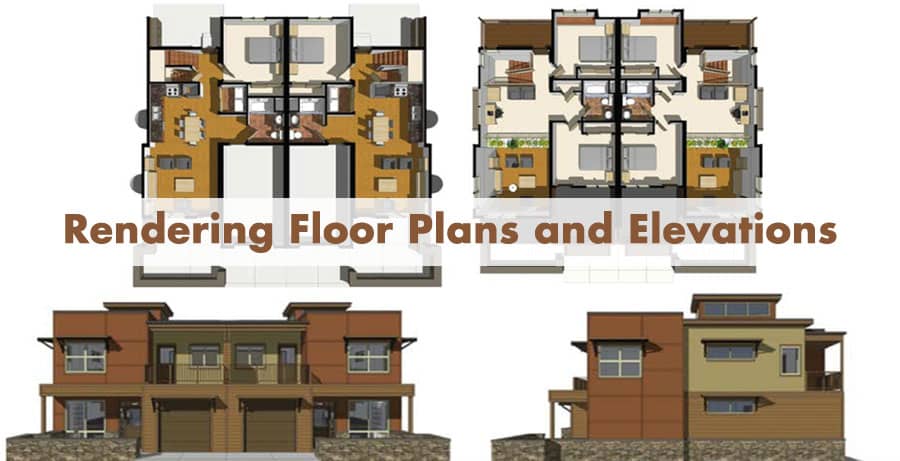
In this world of fast delivery and tough competition, it is even harder for interior designers. There is no shortage of such services online. So, how do you gain an edge over the others? To make sure your tool is fast and accurate. Today, we will talk about how to optimize SketchUp to quickly produce floor plans and elevations.
Optimizing SketchUp for Floor Plans
While SketchUp is insanely popular for its 3D modeling capabilities, don’t be fooled, it is a formidable 2D drawing software as well. SketchUp can churn out professional and accurate 2D floor plans with ease, which will be flexible and adaptable as well.
For example, you can make a simple black and white 2D drawing of the area quickly for a basic work drawing under pressure. Then, you can add different styles and adaptations to it like border, title block, key, dimension styles, different line weights and styles, annotations and whatnot to make sure it adheres to the technical needs.
The legendary versatility of SketchUp comes into play when you realize that this same floor plan can be used for multiple types of work. It can be adapted to suit different scenarios, styles, or even types of users (like a contractor who just needs to get the idea). All of that can be done on the same file. What’s more, both the 2D and the 3D plans can be saved in the same library so that you (or anybody) can access then quickly every time you open this plan.
Once you familiarize yourself with this system, and you get a configured set of styles going, will help you immensely in meeting the daily demands of your clients who need 2D floor plans quick and simple. This in turn will push your business forward to another level, surely. Remember: one floor plan, three uses.
Optimizing SketchUp for Elevations
Elevations are a cut out view of a place from one side, looking perfectly horizontally. This is an excellent way to give the client a precise glimpse of how their project will look like when done. It’s a very useful way to bring your design to life, while not spending much time mucking around with cameras and views.
SketchUp is especially useful in this since you can add your styles, textures, materials, fabrics etc. into your cut-out view so that it mimics the real-life view as closely as the machine permits.
And since interior elevations focus only on one wall “not even the full wall sometimes” this technique is truly useful for quick output of interior views. That’s very useful especially when the client needs to get snaps of inside walls in a hurry.
If you make a search online, you will find the photo-sharing social media is flooded with a particular type of faux moody wall snaps. These are exactly what we are talking about? quick snaps churned out rapidly of interior elevations. Once you employ this technique in your workflow, you will be able to impress your clients with your creativity, professionalism and delivery.
For more information, please watch the video tutorial
source : Start with Procreate THEN Switch to .Skp & Rhino


