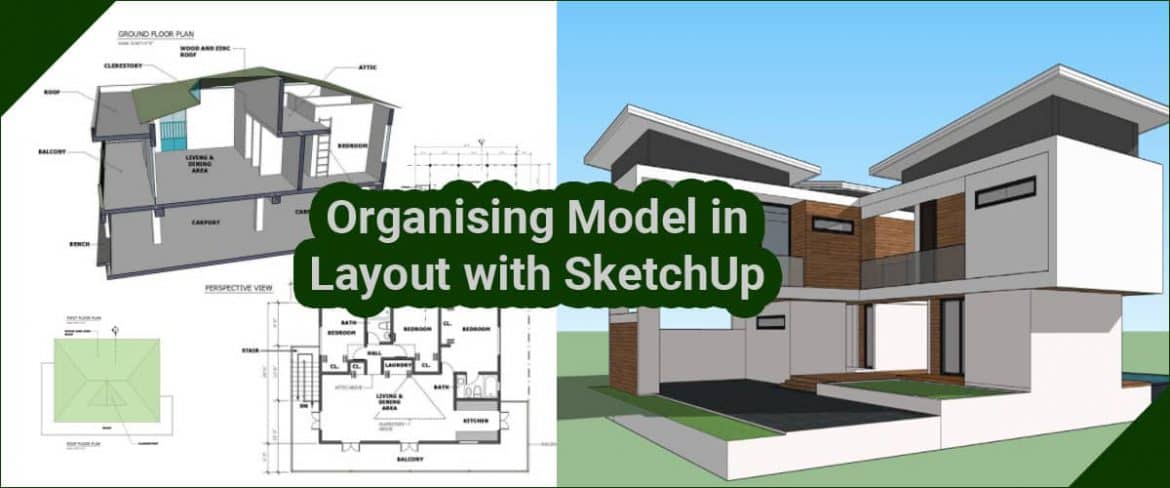
In this article, we will like to mention a bit more about organising your model so that it can be a major part of the Layout to create various variant plans.
We are going to build on some of the concepts so you may want to start with that one. One of the keys to creating models that you are going to import into Layout is planning ahead and grouping your model accordingly. The idea here is that you set your clarity up so when you make changes in your model, your images in Layout alter automatically, so you don’t have to go in and re-create all of your different views.
Everyone seems to develop their own system for doing this – Matt Donley features a system that he uses within the book “SketchUp to Layout”, and Michael Brightman also has a system that he details in “The SketchUp Workflow for Architects.” The link to both is given below.
Sketchup to Layout- https://mastersketchup.com/sketchup-to-layout/
The Sketchup Workflow for Architects (Affiliate Link) – https://mastersketchup.com/sketchup-to-layout/
Normally speaking though, they all share the same basic concepts – you organize your model with groups and components, then you control clarity using layers. You create your geometry in groups, then put those groups onto various layers so that you can modify them as necessary.
Overall speaking, you break your layers up into 3 types –
- Objects
- Conceptual Items (Like Door Swings) and
- Levels (useful for multiple-level buildings).
Example
Here we are going to use door swings as an example. At the moment, SketchUp does not really have a great way to create door swing indicators in your models, so often you are going to end up drawing those in manually, but you are also going to want to be able to hide those – you don’t want door swings showing up if you use your model for a 3D rendering, for example.
In this case, what we do, is, first of all, we’ve all our different doors during a group. That way we can turn them all on or off. Within that group, each individual door will be its own group that contains two objects – the door geometry and the door swings. We will put the group with the door swings on their own layer for each door. That way, if we would like to, we will toggle the swings on and off as we desire.
You can do this same thing primarily for any kind of geometry you did like. We specifically suggest creating layers for any detailing you create that might make it difficult to pull dimension lines, etc. For example, if you modelled a wood base or a wood trim piece, you’d probably want to put that on an “Arch – Wood Trim” layer so you can turn it off whenever you’d like.
The other thing we want to talk about in this article is how we can really quickly organize your scenes. The way we create our plan images in Layout is by creating scenes that show the clarity you will like to see. Although, for bigger projects, this can get really cumbersome and you have to be really quick if you don’t organize your scenes properly.
Scenes Manager
So what we’re going to do is use the Scenes manager to organize all our different scenes. The first thing I’d recommend is selecting the “Details” or the “List” visibility. You will notice all your scenes is in a row. Now, this next piece is going to be you finding whatever works for you, what you would do when my scenes are giving all my scenes a prefix and putting them in order. So, for example, it’s a Level 1 floor plan, so we can name it FP_L1. If we had a level 2, we would name that view FP_L2.
We can also create a scene specifically for modeling and make sure it’s first in this list. That way it’s easy to toggle back to the scene that you’re working from.


