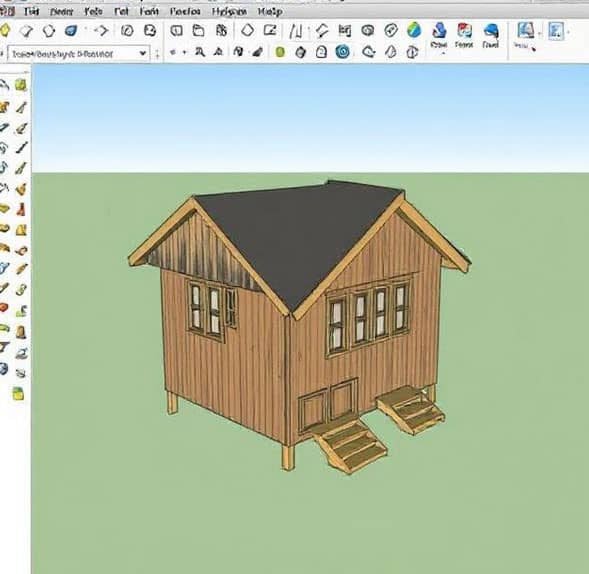
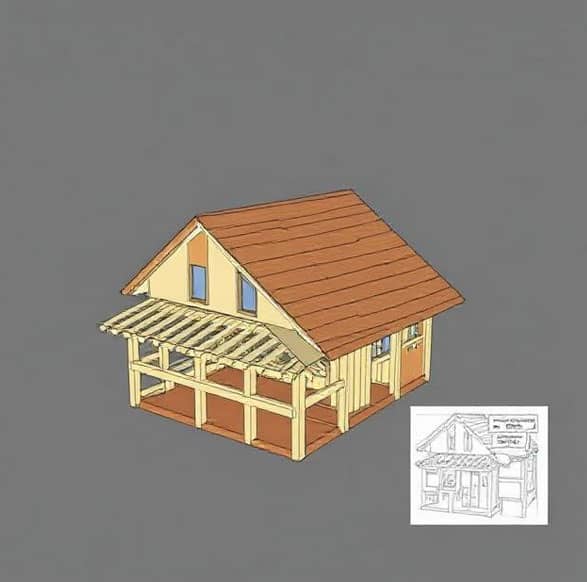
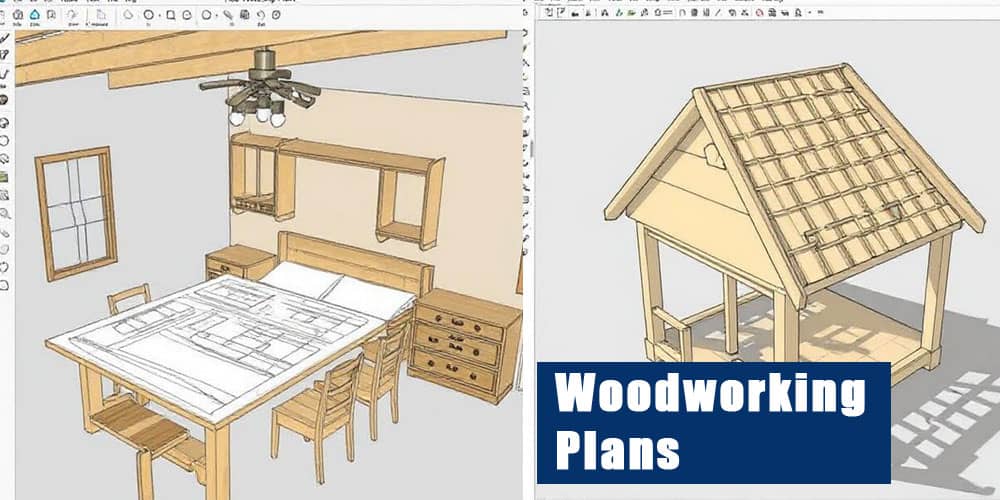
Creating precise and visually accurate woodworking plans is essential for any successful project. With SketchUp, woodworkers can design, modify, and visualize their ideas with precision before even cutting the first piece of wood.
Why Use SketchUp for Woodworking Plans
SketchUp is widely regarded as one of the most versatile and accessible 3D modeling tools for woodworkers. Its user-friendly interface, combined with powerful tools for creating detailed models, makes it ideal for beginners and professionals alike. Here’s why it’s essential:
- Precision and Accuracy: SketchUp allows exact dimensions, ensuring your cuts and joinery fit perfectly.
- Visualization: You can see your project in 3D before you build, catching mistakes early.
- Modularity: You can create components and reuse them, streamlining the design process.
- Documentation: SketchUp provides options to generate detailed 2D plans from 3D models.
Setting Up Your SketchUp Workspace for Woodworking
To start creating woodworking plans, the first step is optimizing your SketchUp workspace:
- Choose the Right Template: Select the “Woodworking – Inches” or “Woodworking – Millimeters” template based on your preferred unit system.
- Enable Essential Toolbars:
- Go to View > Toolbars and enable the Large Tool Set, Views, and Measurement toolbars.
- Set the Camera View:
- Use Camera > Parallel Projection and switch to Standard Views (Top, Front, Right) for technical plan clarity.
Understanding Components and Groups in SketchUp
Using Groups and Components is crucial for managing complex woodworking models:
- Groups are used to separate geometry, preventing unintended changes when modeling.
- Components are reusable, editable copies – perfect for repeating parts like drawer fronts or table legs.
Tip: Always make every distinct part of your project a Component. This ensures accurate cut lists and simplifies revisions.
Drawing Your First Piece

Let’s walk through creating a simple table leg to understand the process:
- Use the Rectangle Tool to draw a 2” x 2” base on the ground plane.
- Push/Pull Tool to extrude it to 30” height.
- Make it a Component: Right-click > Make Component > Name it “Table Leg.”
- Copy and Paste using the Move Tool with CTRL (Windows) or Option (Mac) to duplicate legs for the other corners.
Repeat similar steps for other table parts like aprons and the tabletop, ensuring each is created as a unique Component.
Creating Joinery in SketchUp
Accurate joinery modeling is where SketchUp truly shines. Here are common joinery types and how to model them:
Mortise and Tenon:
- Create the tenon on the end of one component using Push/Pull to remove the material.
- Select the mating component and subtract the mortise using the Intersect Faces tool or Solid Tools (Pro users).
Dado and Rabbets:
Use rectangles and Push/Pull to carve accurate grooves or lips into board components, aligning precisely with mating parts.
Using Layers and Tags for Organization
SketchUp’s Tags (formerly Layers) help organize your woodworking model:
- Assign each major component (legs, aprons, top) a unique Tag.
- Toggle visibility to isolate and inspect individual parts.
- Helps in generating clear and structured construction plans.
Pro Tip: Keep raw geometry on Layer0 (Untagged) and only assign Tags to Components.
Adding Dimensions and Labels
To transform your 3D model into a functional plan:
- Select the Dimension Tool from the toolbar.
- Click between two points to show exact measurements.
- Use the Text Tool to add annotations like wood type, joinery method, or part IDs.
SketchUp allows dimensioning in both 2D and 3D views, but for printing purposes, use orthographic views (Top, Front).
Creating Scenes for Each Step
Scenes help document your build process and present step-by-step instructions:
- Navigate to the desired view and set component visibility.
- Go to View > Animation > Add Scene.
- Label scenes as “Exploded View”, “Joinery Details”, or “Assembled View”.
You can later export these scenes as images or slideshows for presentation or printing.
Generating Cut Lists and Layouts

SketchUp extensions make this process efficient:
CutList Plugin:
- Automatically generates part lists with dimensions.
- Provides board layouts and material usage.
OpenCutList (Highly Recommended):
- Advanced layout tools.
- Material management.
- Exportable to CSV or PDF.
Exporting and Printing Your Plans
Once your model is complete:
- Use File > Export > 2D Graphic to create JPEG or PDF snapshots of your model.
- For detailed plans, use SketchUp Layout (Pro):
- Create dimensioned drawings.
- Add title blocks and construction notes.
- Produce print-ready documents.
Tips for Faster and Smarter Woodworking Planning
- Use Components for Hardware: Drawer slides, hinges, and screws can be downloaded from the 3D Warehouse.
- Apply Materials: Use wood textures to simulate different species and grain directions.
- Use Layers/Tags to Simulate Assembly: Toggle different parts to visualize each build step.
- Save Frequently: Use versioning like Project_v1.skp, Project_v2.skp to track design progress.
Recommended SketchUp Extensions for Woodworking
Expand your capabilities with these top extensions:
- OpenCutList – Automatic cutting diagrams.
- SketchThis Cabinet Library – Cabinet components and joinery presets.
- Solid Inspector – Ensures components are watertight (for 3D printing or CNC).
- CleanUp³ – Optimizes file size and removes stray geometry.
Conclusion: Elevate Your Woodworking with SketchUp
By mastering SketchUp, you gain more than just modeling skills – you create a systemized, repeatable approach to woodworking that eliminates errors and increases efficiency. From drafting joinery to producing print-ready plans, SketchUp is the modern woodworker’s essential design tool.


