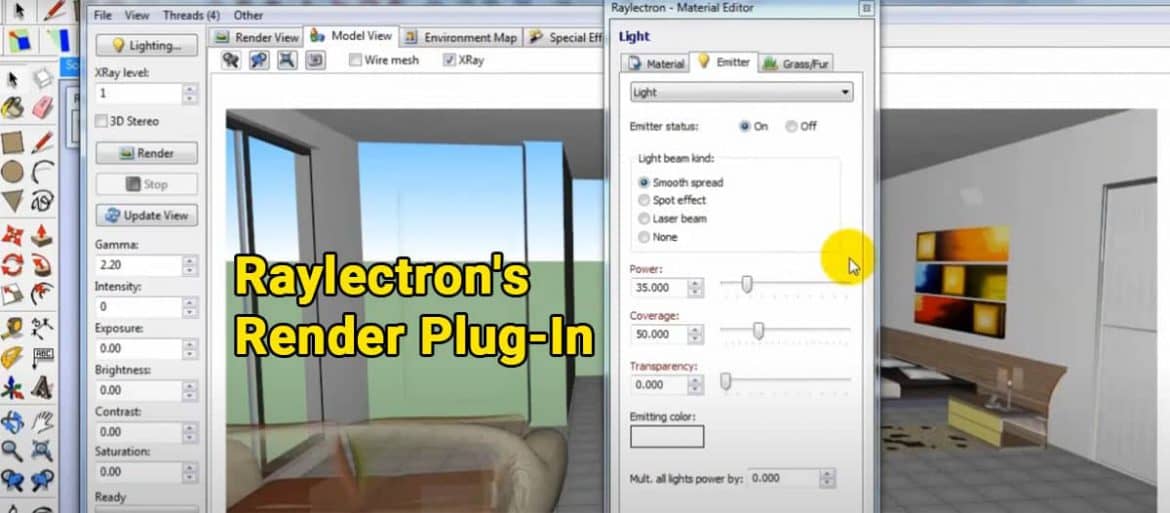
Canadian company Soft-Byte Labs, Inc. developed Raylectron in 2010. Whenever you add a frame to the render view, Raylectron automatically updates your view. When everything is perfect, the rendering process stops. It is possible to achieve photorealism in less than a minute, depending on your needs.
Raylectron is a free and affordable SketchUp render plug-in that is simple, fast, and powerful. Photo-realistic images will generate from your 3D models. You can use Raylectron as a rendering plug-in in SketchUp.
Features of Raylectron
- Raylectron is based on advanced path tracing methods and is designed for speed while maintaining the photo-realism provided by path tracing. Raylectron avoids the common tradeoff for speed that most rendering engines employ like an approximation on emulation.
- Besides creating renders of the scenes, it is also capable of creating rendered animations from sketches created in SketchUp or directly with Raylectron.
- As a result of the Raylectron instancing, extremely large models can be created with very little memory. Landscape designers frequently use Raylectron’s instancing capability for trees, bushes, and other objects. Using a single instance of an object, each instance can be independently rotated and scaled, producing a different look.
Basic Workflow of Raylectron
Rendering a Basic outdoor Scene
- Go to SketchUp’s Get Models tab and click. Choose a model from 3D Warehouse.
- When SketchUp first launches, a small Raylectron Material Editor window opens with No material selected. A render button, eyedropper, and close button are available. If you don’t wish to edit your model, click the Render button. A naming and saving option will provide. Raylectron will now open its rendering program and export your model to it. The small Raylectron Material Editor window will also close when you close SketchUp. The Raylectron Material Editor can edit your material at a later time.
- Raylectron’s View tab has tools for rotating, panning, and zooming your model. You can also use the mouse wheel and buttons to position your model.
- Raylectron Material Editor lets you edit your materials if you did not edit them in SketchUp. You can select material in your model by right-clicking on it in the Raylectron Material Editor window View>Material Editor. Materials can edit based on your requirements. There was a bit of depth given to bricks, stones, and shingles in this case. The glass in the windows is adjusted for transparency and shininess. Once you have saved each setting, be sure to click the Apply button.
- The next step involved loading a 360-degree HDRI Environment Map from openfootage.net into Raylectron. Then select ‘File>Load 360-degree environment map’. You will now be able to see the outdoor lighting.
- Additionally, you checked the box for two-point perpendicular lines. With this selected, all vertical lines appear straight. This is the same as keeping all vertical lines parallel.
- Click Render to start the rendering process. During the rendering process, you can make changes to the rendered output.
Wrapping it Up
Introducing Raylectron, an application for creating 3D designs that can be turned into photorealistic presentations so that you can view the models as though they were real in 3D stereo.
Raylectron is both easy to use and powerful at the same time. It is possible to add many effects to any material, such as reflection, refraction, transparency, glossiness, shininess, bump maps, normal maps, and background images. You can arrange the grass and fur however you like. There are no fake shadows like Soft Shadows. As well, there are no fake or simulated caustics. Feel free to try it and see if you like it for as long as you like. Raylectron contains all the settings necessary to fine-tune the output, so nothing else needs to happen.


