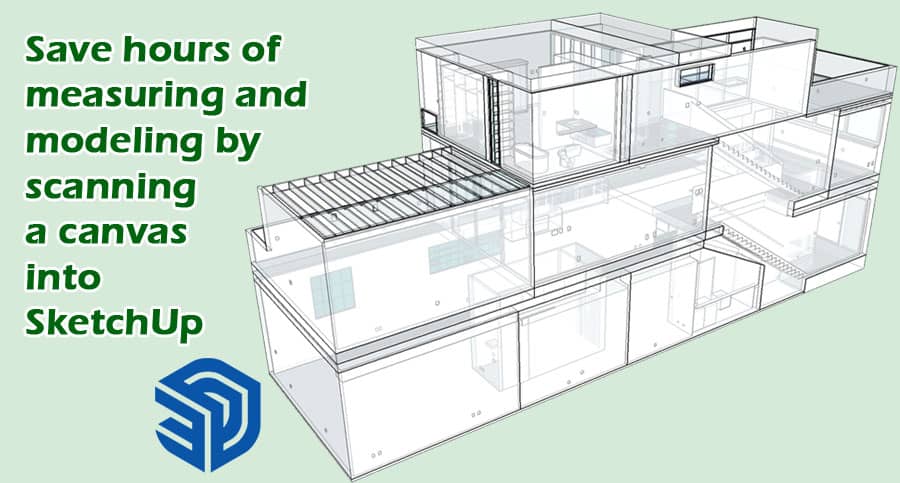
You can quickly bring your client’s vision to life by using SketchUp for residential design projects. By providing detailed 3D renderings, you can fill in any gaps in your clients’ visions, and help them visualize their updated home before construction begins. The first step is to analyze the existing conditions of the site.
By integrating existing conditions into SketchUp with ease, you can spend more time on what you love: designing. Users of SketchUp report saving seven to ten hours per room when they use Canvas.
Define Canvas
A scale-accurate home model can be captured quickly, easily, and powerfully with Canvas. It uses Apple Pro devices’ sensor to scan spaces in seconds. App users can download the app for free from the Apple App Store & scanning is free. You can scan a house with a video camera in just a few minutes.
Functions of SketchUp
Remodelers and contractors updating existing homes, architects planning renovations or additions, and interior designers redesigning the layout and finishes of existing homes can use Canvas.
It reduces costs at the beginning of a project by reducing time spent conducting field surveys and designing preliminary schematics. If you reduce costs, you can spend more time on creating an initial design that wows your clients.
Accuracy of SketchUp
If you scan your SketchUp file using Canvas best practices, the dimensions may be within 1 to 2 percent of what a tape measure or laser distance meter will capture. With Canvas, you can design plan, price, estimate, and document conditions effectively, powerfully, and right out of the box.
Your CAD model needs to be adjusted after you verify the few critical measurements manually. Alternatively, you can provide manually verified dimensions for key measurements & Canvas will override the scan’s measurements. When you need a SketchUp model of an entire room or house, but only a few dimensions must be exact down to an eighth of an inch which is an excellent option.
Canvas Scanning
Interior Scanning
You place the camera in a corner; not on a blank wall, but on the floor, furniture, or other details. You keep your distance from the walls between 3 to10 feet & don’t get too close or too far from what you’re scanning. Approximately 15 feet is the maximum distance.
You can scan from the floor to the ceiling, follow a sideways movement, move up to the ceiling, follow a sideways movement, and go up again. Avoid zigzagging and rescanning the same area more than once & move in a single continuous loop around the space.
Exterior Scanning
Building facades and sidings can be successfully modeled by Scan To SketchUp, but not landscaping or topography. It is difficult to capture roofs and second-story exteriors with the Apple sensor due to its range of about 15 feet.
Don’t climb a ladder while scanning. You can measure the roofline using your laser distance meter, & then share the measurements with Canvas after you’ve submitted your scans.
The price will be $0.20 per square foot if you are scanning both the interior and exterior of a building. You will save $0.05 per square foot if you are only scanning the exterior of a building.
Benefits of Canvas
It is possible to combine multiple scans into one global SketchUp model of an entire house using the Scan to SketchUp service. In order for Canvas to determine how the spaces connect, the separate scans must overlap a common area. In order to maintain accuracy, each floor and staircase should be scanned separately.
Typical 2,300 square foot homes take about 20 minutes to scan as it takes about a minute to scan a room. Your device or any browser can explore the 3D mesh created by the app once you’ve captured a space. Sharing the scanning file with subcontractors, collaborators, and clients is possible. Scan to CAD with Canvas’s Scan to CAD service. You can generate design-ready, editable SketchUp models from your scans.


