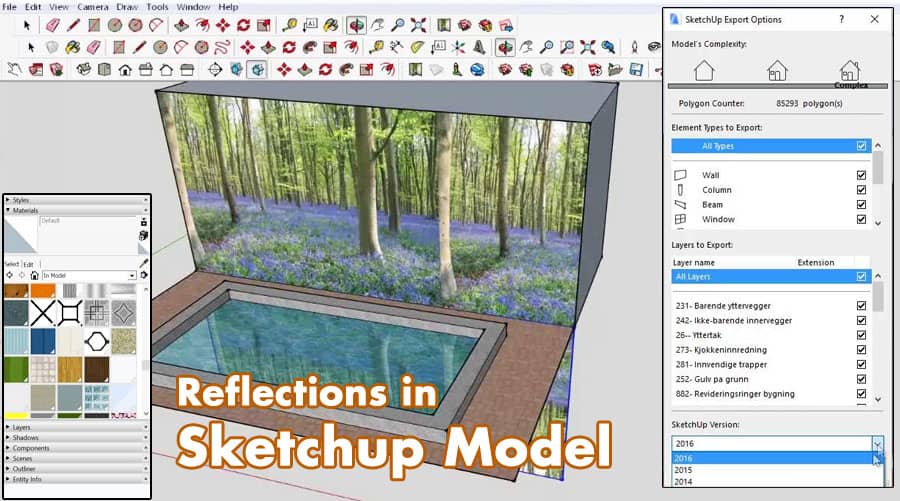
A reflection is an option, by using that users can make the objects shiny and also add a shiny nice surface. Reflection is possible by using a ray trace renderer. Users have to continue the process when they found a non-reflective surface. Reflection on a wood or tile can be added to the photorealistic effects of a 3D rendering.
few types of reflections
- Polished – It is a type of undisturbed reflection like a mirror.
- Blurry – Tiny random bumps on the surface of the material happen and it makes the reflection to be blurry.
- Metallic – If the highlights and reflections keep or hold the color of the reflective object then it is called metallic reflection.
- Glossy – When the reflection is actually blurred then it is known as glossy reflection. It is also a synonym of “Blurred Reflection”.
The process of reflection
What he likes
According to him “Sketchup Free version for PC water-cooling designers” is the most likable thing in SketchUp. He said that SketchUp helped him to see that when the pc water cooling project completed, how it would look like.
- Step – 1: Users have to take the objects in the scene that need reflections.
- Step – 2: Then they have to copy them straight up in the blue direction.
- Step – 3: After that, they have to select the objects with the Select tool.
- Step – 4: Next users have to press M for switching to the move tool, start to move the objects.
- Step – 5: After that, they have to press the Up or Down Arrow key on the keyboard to lock themselves in the up or down direction.
- Step – 6: While moving the objects, users have to press the Ctrl key to make a copy of the objects that are moving.
- Step – 7: Next, they have to drop the copies in space somewhere above the originals.
- Step – 8: Users have to mirror the copies with the Scale tool and move them to their correct locations.
- Step – 9: After selecting the objects users have to press S for switching to the scale tool.
- Step – 10: Now users have to drag the top, squash the objects till they are inside out. Users have to continue the process until the object in the Value Control Box.
- Step – 11: Users have to select the copies and move them down so the objects are directly under their original counterparts.
- Step – 12: Finally, users have to paint the water surface with a transparent material. They have to mirror the objects below the ground plane so that the illusion of a reflection is created. Now orbit around for getting the full effect.
Additional step for more
Users have to create a larger surface than the water surface and paint it with the same transparent material which is used for the water.
Now they have to create various copies of the new surface below the original water surface for creating the illusion of depth. In this way, the reflections will fade away.
- Hint 1 – User can use the distance and number of copies of the water surface to get more or less of this effect and also adjust the opacity of the materials as well.
- Hint 2 – Users should remember the fact that if the ground plane is sloping, the user may need to mirror it as well.
- Hint 3 – Reflection helps to add realism to the model. If users focus on the detail of the model then rendering can be improved. Users should apply the correct intensity of a reflection to a material.
- Hint 4 – Users must remember about the small objects like a tabletop, or a doorknob, or other accessories while continuing the process. If users Spend time on these details then they can make the difference between a boring, flat image and a realistic image.
To create reflective materials
- Users have to right-click on a face that uses the material and select IRender: Edit Material
- It will load the Material Wizard.
- Now users have to select the Reflective material type from the defaults on the left.
- Now users can use the slider bar to select the reflection desired.
- Whenever users use the material, it will be reflective.
- The material applied to the mirror in these models has been set to 90% reflective.
Sum Up
Now readers can understand this by reading this article. If viewers think this article is really helpful for them then please let us know your valuable opinion.
For more information, please watch the video tutorial


