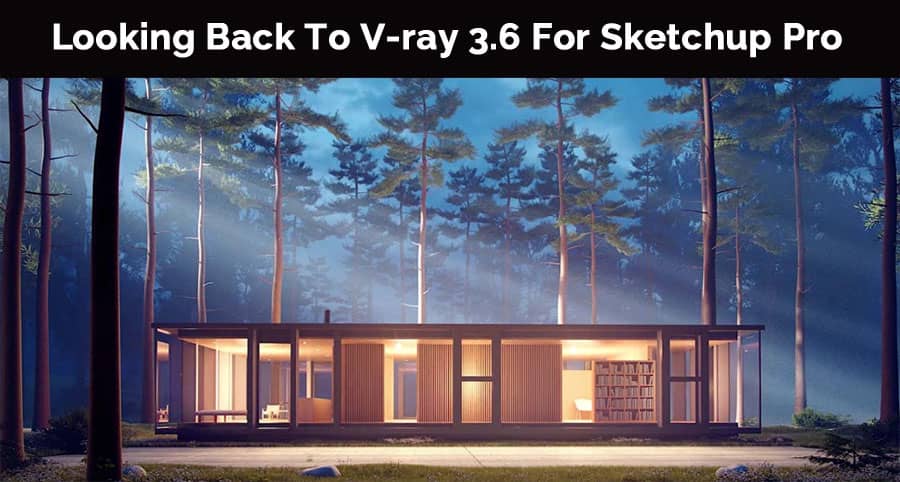
V-Ray is computing software which is imagery rendering software application. Chaos group developed this application. It is a commercial extension which is used for visualization and computer graphics in media, industrial design.
Designers and architects love to use SketchUp for quick modeling features. Designers also love the seamless work of SketchUp.
New features of V-Ray 3.6
There are many new features added in V-Ray 3.6. the features are mentioned below.
- GPU and hybrid rendering: V-Ray 3.6 gave quick and more powerful capacities of GPU rendering. It also added support to aerial perspective, subsurface scattering, shadow, displacement. V-Ray 3.6 actually ran-on NVIDIA CUDA so it could take all the advantages of available hardware both CPU and GPU.
- Viewport rendering: Users viewed the V-Ray renders without leaving the SketchUp viewport. They were able to choose the image part for rendering. Users were able to blend between V-Ray render and SketchUp model.
- The UI: V-Ray 3.6 was made cleaner and simpler for the interface of SketchUp. Designers also bought 4K monitor many times to get the high resolution.
- The asset manager: By using the V-Ray 3.6 users were able to overview of everything in the scene. Users could set the files path and created the scene achieves. So, users did not lose track of texture and proxy files.
- Color picker: V-Ray 3.6 added the new option color picker for SketchUp pro. This color picker was simple and easy to use. Users selected the color values in screen sRGB or rendering the color space.
- The lights: V-Ray 3.6 was able to analyze the lights in the model and users could easily choice the perfect lighting for their model. So, V-Ray 3.6 software reduced render time up to 70%. It saved lots of time of the users in 2018.
- Compatibility of VRscans: V-Ray 3.6 also added a super level of realism to the projects. Library of Chaos group had 600 photorealistic material in their stock so, it captured with scanning technology of V-Ray 3.6 for SketchUp Pro members.
Step by step of using V-Ray
In V-Ray 3.6 users had to get 3 toolbars. One was V-Ray for SketchUp toolbar, second one was V-Ray lights toolbar and the third one was V-Ray objects toolbar.
V-Ray for SketchUp toolbar- by using the toolbar users were able to edit the rendering process, also edited the actual render button by themselves. First users had to click on asset editor. By clicking this option users could adjust the material settings, the environment settings like sunlight, model geometry settings, and general render settings.
In the material list section users could edit the different kinds of materials within the models. Users also could adjust the different settings for materials. There were two different section. By clicking the left section users were able to access V-Ray’s material library and presets. Users added these by dragging them or by selecting them in scenes.
In SketchUp users applied those to the materials by selecting an object and picking the apply material for selection. This also added in as a SketchUp material and after that users could apply to any face they choose. Users also could adjust the setting for the various material.
V-Ray lights toolbar- this toolbar had the particular settings for the different lights. This option worked in conjunction with the V-Ray light toolbar which allowed the users for adding different type of lights like rectangle lights, sphere lights, spot lights, IES lights. After adding these to the model users could adjust them within the lighting tab.
By using the V-Ray geometry option users were allowed to adjust different type of V-Ray geometry objects within the particular model. All could be access in V-Ray object toolbar. The setting tab allowed the users for adjusting everything from the kind of rendering like CPU or GPU, camera setting where users could adjust things like size of render, exposure and environment settings.
How to run rendering
In the asset editor there were two type of rendering. One was render with V-Ray and other one was render with V-Ray interactive. Render with V-Ray would run a static rendering within render window. Render with V-Ray interactive would start an interactive render that could adjust as per moving of the camera.
This would open up a window where users were able to see rendering. This window contained with huge number of settings which users could adjust as well as the different options for rendering different regions within the model.


