The process of putting your design ideas on paper is as simple as you might expect. In addition to scale changes, orientation, and desired quality, you can also customize the results.
On both Windows and Mac OS X, simple model printing is feasible. And both provide a comparable set of choices for transferring your creations from screen to paper.
Using Microsoft Windows to print model views
Print Setup and Print Preview tools are available to Windows users. The majority of the setup options and extra preview features are pretty familiar.
Print Preview
Prior to printing your model, you must click Camera > Standard Views to make the necessary changes before printing. Views can be selected from a variety of options. In addition, the default Perspective view should be changed to Parallel Projection.
A simple two-click procedure leads to the Print Preview window: File > Print Preview. There are now a variety of options available in the dialog box.
By default, the Current View radio button is selected in the Tabbed Scene Print Range. By checking the Scenes button, this will display only selected scenes. For selecting scene numbers, enter values ‘from’ and ‘to’.
The Copies function allows you to simply provide the number of copies required.
Fit To Page and Use Model Extents are both checked by default in the Print Size settings.
Your image will automatically fit the selected paper size when you choose Fit To Page. You can enter your own values by unchecking the box. A specific scale can also be selected for the printer now.
By selecting Use Model Extents, the print will zoom to the model extents and the entire model will be included in the print. The current view must show the whole model in order to be able to do this. In the case that it is not, you would not be able to choose this option.
There are four different print quality options: Draft, Standard, High Definition, and Large.
If your model includes a slice, you can print it by checking the 2D Section Slice Only box.
If you choose the Use High Accuracy HLR box, your picture will be sent to the printer in vector format.
Setup for print
Click File > Print Setup to access options such as printer selection and paper configurations.
- From the list of available devices, select your printer
- You can change your printer’s configuration by selecting Properties
- Choose the paper size and source you require
- Select either the Portrait or Landscape printing option
- Then finally click on ok then begin printing.
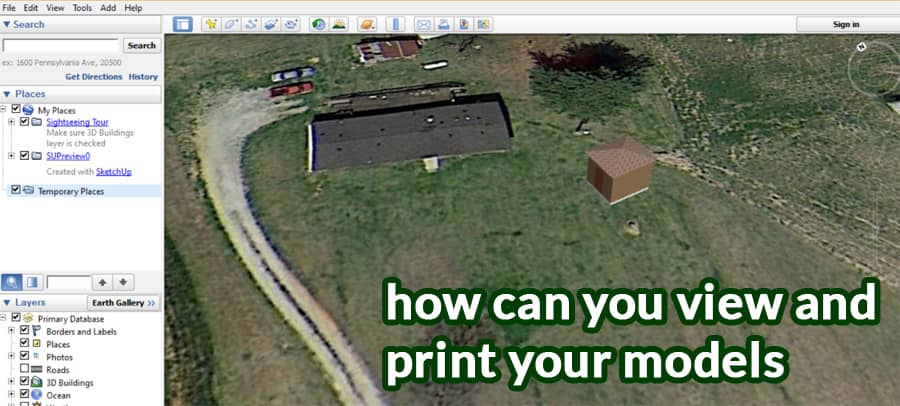
How to View the model on Google Earth
With SketchUp, you can visualize your model in Google Earth so that you know how it will look when construction begins. Your computer must be equipped with both SketchUp and Google Earth to do this
What do you need to do to optimize a model for Google Earth display?
You must optimise your model before seeing it on Google Earth. The steps below will teach you how to get your design ready.
- Set the geolocation of your model. Google Earth allows you to import a terrain or display it on Google Earth with the Add Location function. Once your model is located, SketchUp will allow you to preview it.
- Make sure the dimensions of the model are accurate. Your model should have a similar scale to the map if it is going to have a comparable scale.
- Reduce the number of faces on the model. Google Earth will have difficulty displaying complex models due to their size and processing power requirements.
- Ensure the front faces of your models face outwards when displaying them on maps to avoid losing textures.
- Faces can be enhanced with images. If you are previewing your model on Google Maps, you can add images of buildings. For transparency options, check the image’s transparency option if you need to see through certain faces
How can you preview a model using Google Earth?
Once your model has been constructed, you may export it as a.KMZ file. With this format, you will be able to utilise Google Earth. When you open the file in Google Earth, your model will display on the map.
You can zoom in and walk around the site to get an idea of how the design looks in the chosen environment.


