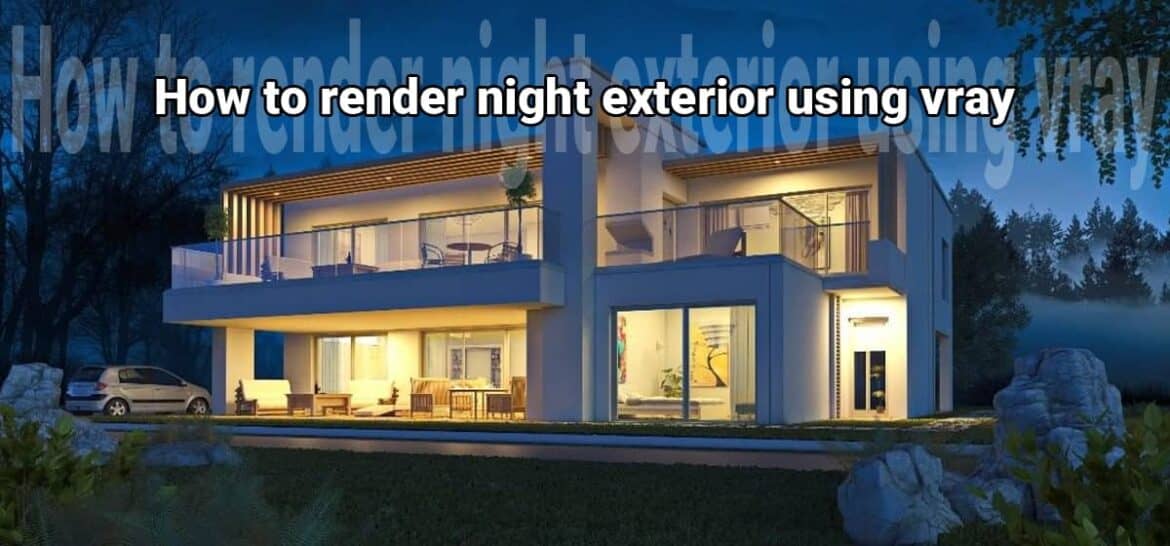
This article will help you understand how to deal with exterior night-rendering and V-Ray.
It is important for you to know 3ds max and V-Ray to follow this article
Natural light
The initial step would be to choose a background image of a sky.
Next, you have to place the desired image into the environment slot (you have placed it in 3d max’s environment slot and not in V-Ray).
Make sure that in the V-Ray settings, you check the global illumination, and then select light cache for secondary bounces, then irradiance map for primary (you can use brute force but you must remember that it can take a longer time to render).
You have to be sure that the “default lights” are unchecked in the global switches tab.
Finally, one of the important steps is to the V-Ray environment slot and check the “GI environment (skylight) override. You must put a gradient in the slot right beside.
Exterior Rendering Settings
Adding artificial lights inside
You must have noticed by now that it now has started to look like a night rendering, but there is a lack of artificial lighting which makes the spaces look deserted.
To simulate artificial lighting, we have to start by adding V-Ray lights inside the house.
There are a number of factors on which artificial lights depend such as the intensity, color temperature, size of the space that is actually lit, and much more so the idea is to not place a light source and instance it all over the place. You must be creative and play with various factors such as intensity multipliers, filter colors, and a lot more.
Simulating artificial light “spreading” from inside
After the placement of light inside the house, you will find that the light will not seem to “come out” enough. Therefore, now what you have to do is you will have to place V-Ray planar lights just in front of the windows and point it towards the exterior.
After this, you can hit a test render.
Exterior Rendering Phase 3
Adding artificial lights in the courtyard
Even though we are getting closer, you will notice that the courtyard is too dark. Now you have to place exterior lighting fixtures depending on your scene, (for example if you have the lighting posts then you can it to illuminate the courtyard), or even use exterior spotlights that illuminate the building. If you do not have any visible light source or clues then you could place lights somewhere behind the camera, so that you give the impression that the space is receiving illumination from neighboring sources (which can range from street lights, car lights, or even other buildings).
At first, you have to assign them a V-Ray light material with a gradient map; after which you have to place V-Ray spherical lights over each one. Even though you can place a light source that might feel kind of a fake, at the end of the day if it looks right then that’s all that matters.
After this step, you can try and hit another test render.
Exterior Rendering Phase 4
Photoshop touches
- You can try and add a subtle glow effect to the visible artificial light sources (which in your case might be the small lighting posts). You can do this using the diffuse glow filter.
- After that in a new layer, you have to add a linear gradient from the bottom to somewhere in the middle from orange to transparent. Then you have to put the layer on “color” and play with the transparency until you like the result. If you want to add more creative touch then you can also try some subtle brushstrokes, with different tints of red, yellow, or orange to create diversity.
After experimenting with the steps above, you can get the final render image.
Exterior Rendering Phase 5
Conclusion
It is true that the rendering of an exterior at night can be very tricky. So, the best way to approach it would be to take it systematically by starting with natural light and adding artificial lights one by one during the process. If you do not follow such a step-by-step procedure then you may find yourself lost not knowing where you did something wrong.
You must also have professional architectural photography at hand which you can use to look at them at every stage of the process.
Given below are a few tips which you use to get the night rendering just right:
- You must remember that even at night time the skylight still casts a subtle shadow.
- You must never make the sky 100% black, there must be a blue or a purple tint.
- In case there are no artificial lights on the ground, then the sky will always be brighter and the ground would take a little bluish or purple tint from the sky
- The lighting is a mixture of dark purple/bluish tints at the upper part and orange/yellow on the ground and on the building(s). This takes place because the natural light blends with artificial light sources placed on the ground.
- Also, the colors are more saturated in a night rendering than in a daytime one.
- You must not forget to add a glow as artificial light sources have a subtle glow around them.
- In case you have “moving objects” in your scene, make sure you use motion blur. If you have knowledge regarding photography, you must be aware that at night time photographers use high exposure times when they target architectural subjects; this causes all moving things around (cars, people, or other objects) to appear with motion blur.


