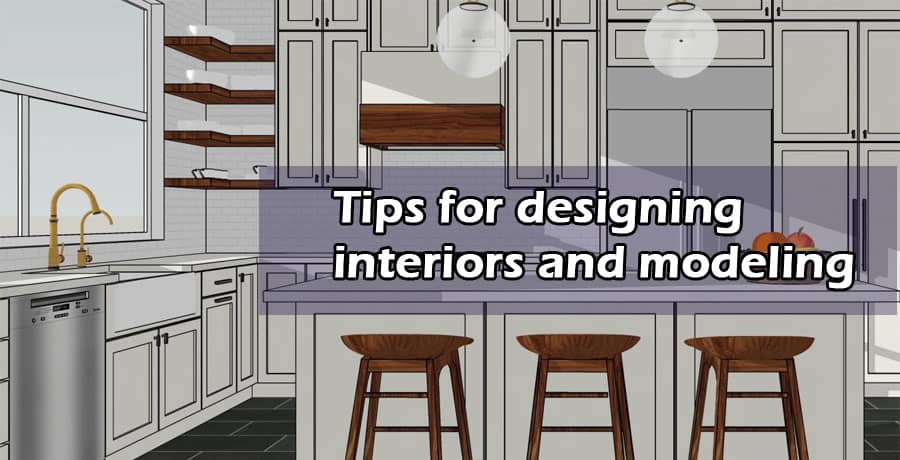
There are many advantages to using SketchUp as an alternative to more complicated building design software that is commonly utilized in the architectural industry. There is, however, an option for the public to also download the application for free. Getting used to everything SketchUp has to offer takes some practice, just as it takes some practice to learn everything it has to offer in terms of interior modeling software.
It would be a good idea to use SketchUp right from the beginning when doing the initial rough sketches to model an interior design in case you intend to use it to simulate an interior design. Since you will be using SketchUp anyway, make sure to take notes on the screen as you will have to enter the measurements.
In the course of the design process, you can get a basic idea of what the room will look like once you have transcribed the measurements.
Few Tips to Remember
So here are a few tips to help you design the interiors by using SketchUp:-
Don’t forget to lock the elements in your models
You don’t need to move the walls and floors that often when you are doing interior design modeling, it is very likely that you won’t be moving them very often. As you move furniture, rugs, decorations, and other interior design elements around, it is not uncommon for even seasoned users to move these two significant components as they try to slide the furniture, rug, decoration, or any other piece of the interior design together.
Sometimes the cursor would accidentally hit the wall and move just a tiny bit before you were able to move it back to its original position. You might not notice the change in position as much as you would like to. In essence, the shell of the building is made up of walls, and floors, and this must remain the same despite the process.
If possible download the models from the online warehouse
In addition, there is a wide range of ready-made assets available through resources like 3D Warehouse and other websites; hundreds of these assets are likely to work well with the interior you are designing. Often times you will find yourself getting distracted by the colorful ornaments that adorn the schematic design as you work through the process of designing it.
Getting distracted can make it more likely that you will forget what you have done and get lost in a sea of decoration options.
Get used to the “Layer Option” in SketchUp
The layers function in SketchUp allows for a lot of control over the model, which makes it an excellent way to showcase multiple interior design options in the same location. For instance, it is simple to create two or three alternate configurations for a living room setting and put them on corresponding layers.
As each layout is placed on its own layer, you can toggle it on and off without having to make changes to the whole model as you toggle between layouts. The layout of the living room does not have to be done separately for each choice of layout in the room. As an add-on to SketchUp, you are also able to add individual scenes for each layout, making it easier for you to switch from one layout to another.
Utilize the guidance to draw the models and walls
The tape measure tool in SketchUp can be used to create new walls, partitions, doors, and other objects. It creates new lines without merging with any geometry inside the model to create the dimensions you need.
Delineating specific points in real life requires the use of a tape measure. There are no faces split by the guideline, and even the existing geometry does not intersect with it.
Geometry must be organized and planned beforehand
There is nothing more challenging than going back and reorganizing all of the objects in SketchUp and seeing what has been done already. Separate fragments need to be organized into the appropriate groups and layers in order to avoid the possibility of them merging unintentionally and ruining your progress, so it is best to organize them accordingly
You will have a wall that blends into everything else that it touches without groups and layers. The problem with modifying only one wall at a time is that you cannot add a door or specify different heights for one wall, hoping it will not affect the other walls, once the wall combination is completed.
Lock the floor plan in the model
When you are working in a two-dimensional floor plan view, lock out the space or area where the objects will be placed so that they cannot be positioned in the wrong position. Furthermore, it is important to specify the dimensions of these spaces in order to make sure that they conform to the length and width of the entities. Putting the areas on their layers can help you distinguish the areas on a floor or wall.


