

In this article, we will mention 3 various ways to create hatch patterns in your plans in Layout. Utilizing the SketchUp model we have developed over the last couple of layout articles, now we will make use of our views to generate hatch patterns in our walls in our Layout documents.
One of the biggest questions we received in working with Layout is:-
How to Create Wall Hatching / Shading?
In this article, we will educate you on three different ways to create wall hatching in Layout.
The first, and presumably, the foremost simple, is to easily trace a hatch pattern fill onto your walls in the Layout itself. The layout has a number of built-in patterns that you can use in your models. However, this isn’t like applying the material in SketchUp – you will actually have to select a pattern in the shape style section, then trace a shape onto your model. You will also want to make sure to put these hatches on their own layer so you can turn them on and off if you decide to do it this way. The nice thing about this is that it gives you more control over your hatching, but it also creates problems.
Example
This hatching isn’t dynamic, meaning if you move things around in your model, you are going to have to re-trace your hatching. Another way to do this is to put in a material to the backside of your walls. This would be done inside SketchUp, then you did have to create a new style that shows materials.
You could then adjust your hatch sizing using the fabric editor. This is a good infusion, but it means you have to keep up with painting the back sides of your walls as you create them.
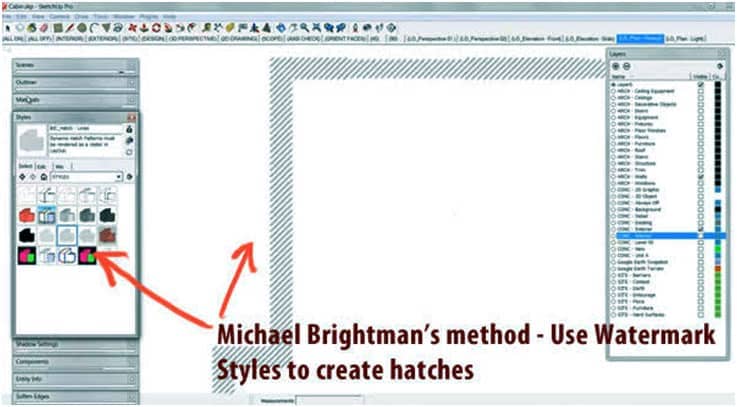
The last thanks to doing that may be a method created by Michael Brightman, and it is a pretty clever thanks to doing that.
What you are going to do is use a watermark to create a wall hatch. The way this works is you are going to go find a hatch image. You would search Google for an image that would work. Primarily, it will be an image of diagonal black lines on a white background.
We are going to create a new style to use for this, so go into the styles section, select the style that you want to use as a base, then click the plus button to create a new style.
Now, go into the watermarks section and click the plus button. Navigate to the image you downloaded and select it. Now it will ask you if you want to use this as an overlay or as a background. We are going to select overlay. If you look at this, what it’s going to do is overlay this image over your whole model. You are going to want to select the box for “create a mask.”
Create Mask
Create mask will basically “mask” your model in order that wherever the colored parts of your image exist, they’re going to cover the dark parts of your model.
Lastly, you are going to go in and set your faces so that they are black. This way, your hatch pattern mask will create a hatched effect on your walls.